Transcript
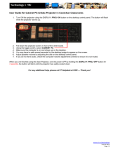
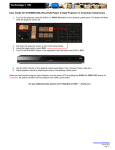
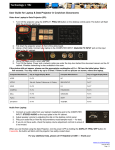
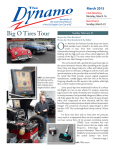
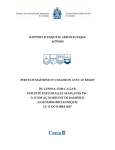
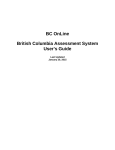
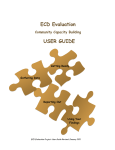
User Guide for Document Camera & Data Projector in Cowichan Classrooms
1. Turn ON the projector using the DISPLAY: PROJ ON button on the desktop control panel. The button will flash
while the projector warms up.
2. Pull down the projector screen in front of the white board.
3. Using the toggle switch, select DOC CAM.
4. Take off the protective covering on the Document Camera, remove the camera cap and extend the camera arm.
5. Turn on the Document Camera by pressing the power button on the top left corner of the base of the Document
Camera.
6. Place your item in the centre of the document area.
7. You may have to wait several seconds for the camera image to appear on the screen.
8. Turn the jog wheel on the Document Camera clock wise to zoom in and counter-clock wise to zoom out of your
document or item.
When you are finished using the Data Projector, turn the power OFF by holding the DISPLAY: PROJ OFF button for
3 seconds, the button will blink until the projector has safely cooled down.
For any additional help, please call IT Helpdesk at 6300 --- Thank you!
www.viu.ca/technology
July 28, 2011
Page | 1