1
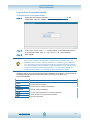
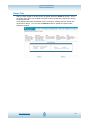
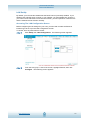
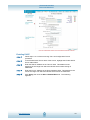
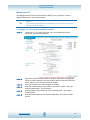
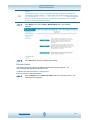
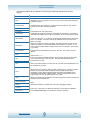
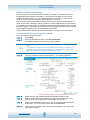
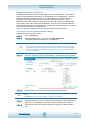
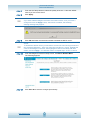
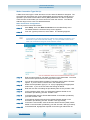
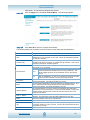
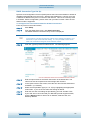
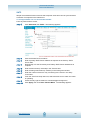
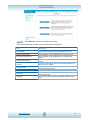
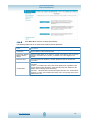
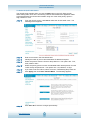
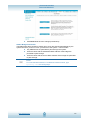
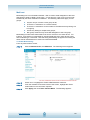
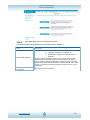
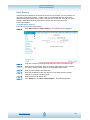
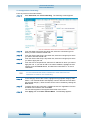
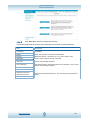
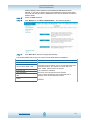
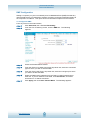
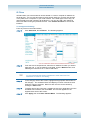
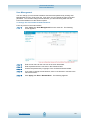
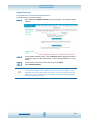
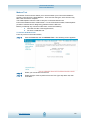
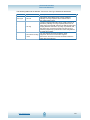
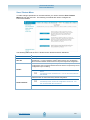
iConnectAccess624 Technical Reference For Windows® 2000 / Windows® XP NOTE: Please note that these instructions may vary, depending on whether this is the first time you are configuring your Ethernet Driver in Windows. Those below are for first-time configurations. Windows® 2000: step 1 From your Windows desktop, click Start > Control Panel. step 2 From the Control Panel window, double-click the Network Connections icon. step 3 At the Network Connections window, right-click on the Local Area Connection icon and click Properties. step 4 Proceed from step 3 in the Windows XP Ethernet Driver Configuration Procedure below. Windows® XP: NOTE: Instructions are based on the default Start menu option. step 1 From your Windows desktop, click Start > Control Panel. step 2 From the Network Connections window, right-click on the Local Area Connection icon and select Properties. step 3 In the Properties window of the LAN connected, ensure that the Connect Using field indicates the model of the Ethernet Card connected to your iConnectAccess624. NOTE: This is important especially if you have more than one Local Area Connection icon displayed in the Network Connections window. Ensure that you have selected the correct one. step 4 From the This connection uses the following items: area of the Properties window, select Internet Protocol (TCP/IP) and click Properties. step 5 From the General tab of Internet Protocol (TCP/IP) Properties window, highlight the Obtain an IP Address Automatically radio button, and click OK. step 6 Click OK again to close the dialog. step 7 Ensure that your iConnectAccess624 is powered on. Restart your system when prompted. www.opennw.com 12