1
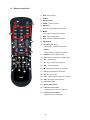
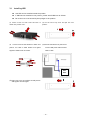
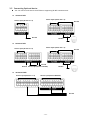
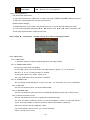
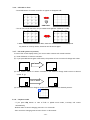
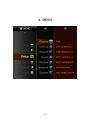
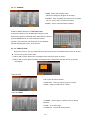
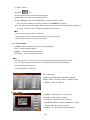
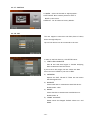
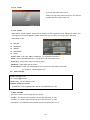
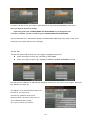
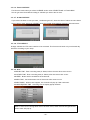
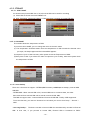
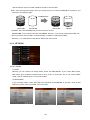
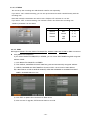
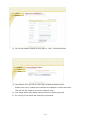
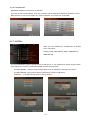
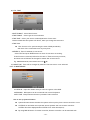
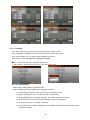
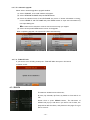
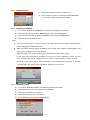
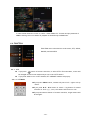
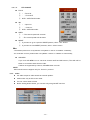
SYSTEM- ID, or if SYSTEM- ID is 00, system-ID is not displayed and system accept key from remote controller. If SYSTEM- ID color is Yellow, the system accepts remote-controller key input. If SYSTEM- ID and Active-ID are not matching, SYSTEM- ID color will be Red and the system does not accept remote-controller key input.(No beep) How to match SYSTEM- ID by remote controller (1) Press DVR-ID button of remote controller.(You can hear short double-beep.) (2) Then, press desired System-ID by using 2 numeric button. (E.g. 02 or 03 or 01) R:01 Not working Active ID : 02 Working R:02 R:03 Not working 4.2.7.4. USER There are 2 fixed users which are ADMIN and NETUSER. Their values of authority are already set and unchangeable like the below picture. Additionally, you can create Max. 20 more authorized accounts, and you can give various authority levels to each account to control DVR system by checking each box. ● USER – There are two unchangeable user IDs (ADMIN, NETUSER), and additionally you can add 20 additional USERs by your own. ● PASSWORD – Initial password for each user is set to ‘0000’. When you create a new account, make sure that you have to enter new PASSWORD. And don’t forget the Password. ● SETUP – Check this box then the user is authorized to go into setup menu ● DVR – Click SET button then DVR setup detail will pop up. You can give authorities of REC, PLAY(SEARCH), BACKUP and PTZ to each user as you wish. ● NETWORK – Check this box then the user is authorized to access to DVR via network (Web, CMS) ● TIME OUT – When this is set to ON, LOGIN window will re-appear after entered time from any signal input. If you want to log out, you need to go to MENU and select LOG OUT like right picture. ● MONITOR – First select ON to give monitoring authority to each user. Then click CH button to Select monitoring channel the user can access. ● PAGE – Move to next page to create and configure more users. - 45 -