1
AXIS 5600 User’s Manual
Installing
NetBIOS/NetBEUI
printers in Windows
NT 4.0/2000
Section 5: Setting Up - Windows
55
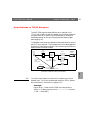
Follow the procedure below to install Axis Printer Ports from a
Windows NT 4.0 or Windows 2000 workstation:
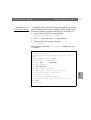
1. To start the Add Printer Wizard, select Settings - Printers from
the Start menu and double-click the Add Printer icon.
3. The Wizard asks you to select My Computer or Network printer
server. Select My Computer, as the AXIS 5600 emulates a local
printer port.
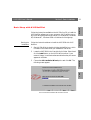
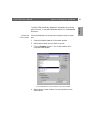
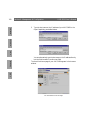
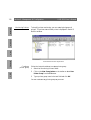
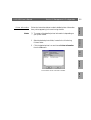
4. Click Add Port... in the Available ports dialog, select AXIS Port
and click New Port...
5. Select NetBIOS/NetBEUI as your choice of network protocol
and click OK.
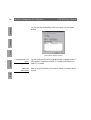
6. Select the AXIS Port you want to add. The ports appear as
<name>.LP1, <name>.LP2, and <name>.CM1, where <name> is
AX followed by the last six digits of the AXIS 5600 serial number,
e.g. AX100086. Click OK.
7. Close the Printer Ports window.
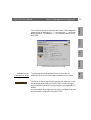
8. Click the Configure Port... button. Choose whether error
condition pop-up messages are to be displayed by checking the
box in the Configure Axis Ports dialog. Define the frequency at
which the error messages should be displayed after retry. Click
OK. Continue the installation by clicking Next>.
9. Choose the appropriate printer driver for your printer. Click
Next> and proceed directly to step 11. It is only necessary to
perform steps 9-10 if your printer does not appear in the list.
Note:
❏ Even if the desired printer is available in the Manufacturers and
Printer Models list, you are advised to use the printer driver
provided with your printer. This assures you of the latest driver
software.
10. Click the Have Disk... button. Insert the printer driver
diskette/CD that was provided with your printer, select the
appropriate diskette/CD drive and click OK.
Windows
2. Windows 2000 only: Start the installation by clicking Next>.