1
2.2 Mounting the SmartView Multiscreen
The SmartView Multiscreen has been designed for use on a desktop or shelf in
close proximity to the user’s monitor and peripherals. The optional remote controller
may be used if you wish to locate the SmartView Multiscreen on a desk or shelf that
is some distance from the monitor and peripherals.
2.3 Connecting your devices
Ensure that the optional power adapter is disconnected from the SmartView
Multiscreen and that all the devices which are to be attached are switched off.
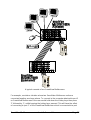
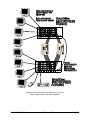
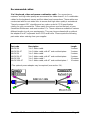
Connect the shared keyboard, PS/2 mouse and monitors to the connectors at the
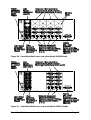
rear of the SmartView Multiscreen (see figs 1, 2 and 3). Next, connect each
computer system unit in turn with the keyboard cable, mouse cable and video
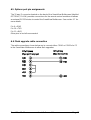
cables. For the keyboard, mouse and first video port, Adder 3-in-1
keyboard/video/mouse cables are recommended for maximum convenience. Any
unused computer connections can be left unconnected. To connect computers with
serial mouse connections and AT style keyboard connections use the adapters
specified in appendix A. If you have an existing 6-pin mini-DIN to 9-pin serial adapter
that came with a mouse it may not be suitable for use with the SmartView as there
are several different standard wiring configurations for these adapters.
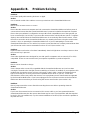
The SmartView Multiscreen is now ready for use and will start to operate as soon as
one of the attached PCs is powered on. If you are connecting to PCs using cables
that are longer than 5 metres or are cascading the SmartView Multiscreen to another
SmartView Multiscreen you will need to use the optional power adapter. When using
the optional power adapter, ensure that it is connected to the mains and powering
the SmartView Multiscreen before you switch on the connected computers. Failure
to switch the SmartView Multiscreen and computers on in the correct order can lead
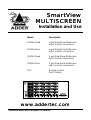
SmartView Multiscreen
Installation and Use
Page 13