1
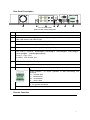
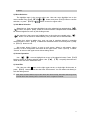
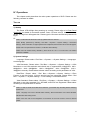
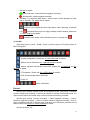
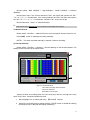
Table II-3 Remote Controller Description
No
Name
1
Power
on/off
2
Adjust
picture
parameters
Function
Buttons
3
1
5
Description
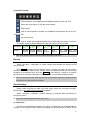
Turn on/off the device, same as the
button of front panel
adjust brightness up/down,
adjust contrast up/down
button of front
record, same as the
panel.
switch from single split to multiple splits view
mode
picture capture
return to upper menu, same as the
6
2
4
Play
control
5
Function
Buttons
6
Numbers
7
Function
Buttons
8
Arrow
buttons
7
3
8
4
9
Fig II-1 Remote Controller
button of front panel
stop ,
play in slow mode/fast rewind,
play/pause ,
fast forward ,
go to
go to
previous section, go to next frame,
next section
CN/EN : Switch from Chinese to English, or
reverse.
○× :Acknowledge alarm notifications, same as
button of front panel.
the
ID:Set ID of remote controller.
Input numbers or select to switch among
relevant channels.
DEL:Delete
FN:Auxiliaries, same as the
button of
front panel.
The same as arrow buttons of front panel
SET : Set parameters, same as the
button of front panel.
Function
Buttons
9
PTZ:Enable PTZ control, same as the
button of front panel.
PROG:set sequence ,
PRESET:set preset,
CALL:call preset,
SEQ:call sequence,
SCAN:Scan automatically
Note: The following buttons are disabled currently: 【ID】、
【CN/EN】、
【PROG】、
【PRESET】、
【CALL】、
【SEQ】、【SCAN】、
、
、
.
Hard Disk Installation
The hard disk is not included in factory fittings. Users can mount suitable hard disk by
calculating its capacity referring to Appendix 5.2.
6