1
NCSEIM
NET Concentrator System
with Ethernet Interface
Appendix E: Loading a
Custom Curve File
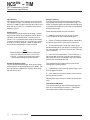
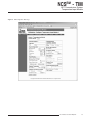
There are two ways in which a custom curve can be
loaded into the EIM for use with the TIM or AIM
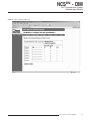
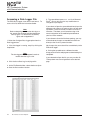
configuration pages. In order to create a Comma
Separated Value (.csv) file, you will need either
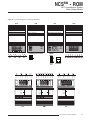
Microsoft Excel® or other similar spreadsheet program,
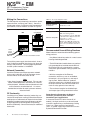
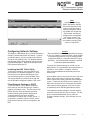
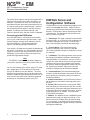
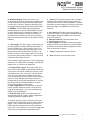
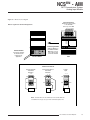
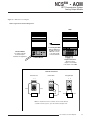
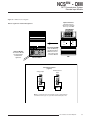
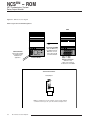
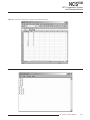
(refer to Figure A-3) or a text editor (refer to Figure
A-4).
1. In Microsoft Excel®, open a new sheet. Using
column A as your X data, and column B as your Y data
observe the following scheme:
Column A: The X data must be a monotonically
increasing sequence (i.e. each value must be greater
than the previous value in the sequence).
Column B: The Y data may be any sequence. You
may enter up to 128 X,Y pairs. All numbers must be
real, signed numbers, up to 6 digits long (7 digits and
higher must be translated to exponential notation) or 6
plus one decimal point. Exponent notation (in the form
of 1e+010, rather than 10e9) may also be used, but it
will be translated to the full value (i.e. 10e9 =
10000000000) and thus must not represent a number
higher than Xe37. Numbers represented as Xe38 and
above will produce errors.
After entering your values, simply save as a .csv file.
A-10
The Interface Solution Experts
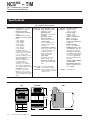
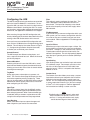
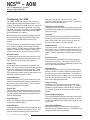
2. Observing the same rules, you can also use a text
editor to create your .csv file in the following manner:
The file must be saved with a .csv extention. The
.csv file is then transferred to the EIM cfg directory via
the FTP site (refer to Appendix B: Upgrading Interface
Module Firmware and Web Pages for instructions
regarding access of the FTP site).
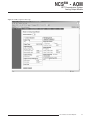
To configure the TIM or AIM with the custom curve,
perform the following:
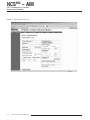
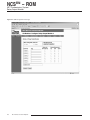
1. From the configuration page for the channel
requiring the custom curve, click Load .csv.
2. The Load Custom Curve window will appear. Select
the file you created from the list and click Load.
3. The Load Custom Curve window will disappear.
Check the Enabled box in the Custom Curve section of
the configuration page and click Commit.