1
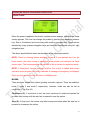
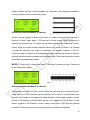
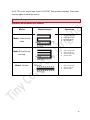
same as above until the Y-sensor triggers (i.e. feed axis/ Y-axis has been reached to
its limit at which sensor is mounted by user).
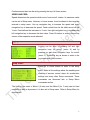
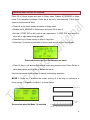
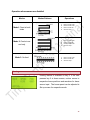
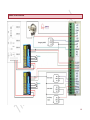
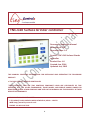
Screen shot when the Mode2 is selected
As the Y-sensor triggers, it waits for the motor1 to reach its limit position and after it,
homing of motor2 takes place. If 2S was set in home screen (Stop/ Continuous is
selected by pressing key 4 in home screen before starting the motion for motors),
motor2 stops at its home position and the direction for motor1 is saved. It is required
to press the start-stop key again to commence the motion. However, if the 2C;
continuous was set, motion is commenced again after reaching the motor2 at its home
position and whole process repeats as illustrated above. Press start-stop key to pause
the motion in between the process.
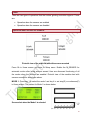
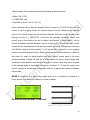
MODE 3: Press key3 to select the mode 3 and key4 to select as stop/ Continuous
mode in the Home Screen.
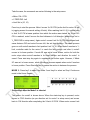
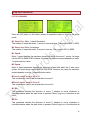
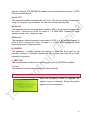
Screen shot when the Mode3 is selected
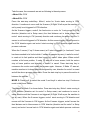
The pattern for mode3 is shown above. When the start-stop key is pressed, motor1
starts moving in CCW direction (as per direction set for motor1 in setup menu) and
moves until X-sensor is not triggered in same direction. As the sensor triggers, motor1
moves in CW direction until the switch/ sensor is not triggered in CW direction. As the
sensor triggers in CW direction, motor1 starts moving back CCW and this process
continues. Press start-stop key to pause the motor in between the process.
10