1
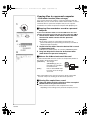
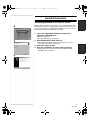
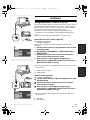
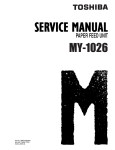
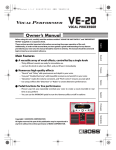
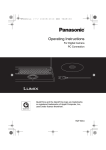
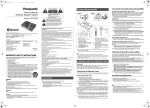
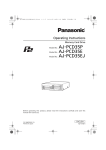
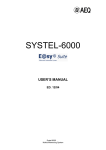
VQT0W26ENG.book
13 ページ 2005年10月7日 金曜日 午前10時31分
Software
Using MotionDV STUDIO 5.3E LE
If you wish to capture data from a tape, set the movie camera to tape
playback mode and insert the tape. If you wish to capture images
from the lens of the movie camera, set the movie camera to the tape
recording mode and remove the tape and the card.
≥If a short-cut icon has been created on the desktop during
installation, it is also possible to start by double-clicking on the
icon.
≥Please read the PDF-based instructions for how to use it.
1)
2)
With USB connection cable (supplied)
OS: Windows XP SP1/SP2
Windows 2000 SP4
The personal computer should be compatible with USB 2.0
Hi-Speed.
4
1 Set the movie camera to tape playback mode or tape
recording mode.
2 Set [BASIC] or [ADVANCE] >> [USB FUNCTION] >>
[MOTION DV].
3 Connect the movie camera to personal computer
with auxiliary USB connection cable.
4 Select [start] >> [All Programs (Programs)] >>
[Panasonic] >> [MotionDV STUDIO 5.3E LE for DV] >>
[MotionDV STUDIO LE for DV].
≥You cannot record the video edited by the PC onto the tape in the
movie camera.
1) USB connection cable
2) USB terminal
With DV cable (optional)
1)
OS: Windows Me/2000/XP
1 Set the movie camera to tape recording mode or tape
playback mode.
2 Connect the movie camera to personal computer
2)
DV
3
with auxiliary DV cable.
3 Select [start] >> [All Programs (Programs)] >>
[Panasonic] >> [MotionDV STUDIO 5.3E LE for DV] >>
[MotionDV STUDIO LE for DV].
≥You can record the video edited by the PC onto the tape in the
movie camera.
1) DV cable
2) DV terminal
13
VQT0W26