1
Chapter 1 Preparation - Using the remote control
Using the remote control
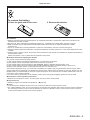
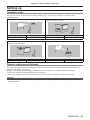
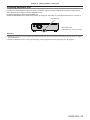
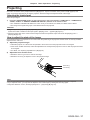
Inserting and Removing batteries
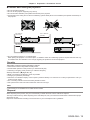
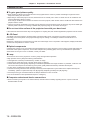
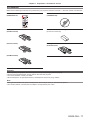
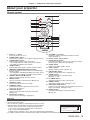
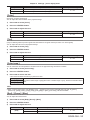
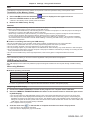
Fig. 1
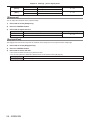
Fig. 2
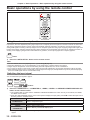
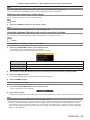
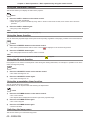
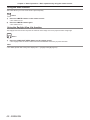
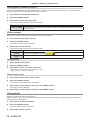
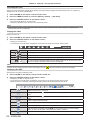
1) Open the cover. (Fig. 1)
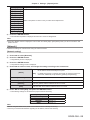
2) Insert batteries and close the cover (Insert the "m" side first.). (Fig. 2)
ff When removing the batteries, perform the steps in reverse order.
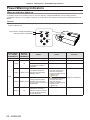
Setting Remote control ID numbers
When you use the system with multiple projectors, you can operate all the projectors simultaneously or each projector
individually using single remote control, if unique ID number is assigned to each projector.
After setting the ID number of the projector, set the same ID number to the remote control.
There are 7 different ID codes (All, Code 1~Code 6), the initial ID number is [All].
How to set
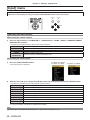
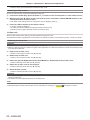
1) The ID numbers of the projector are set by pressing the <IMAGE> button one time to six times
while holding down the <MENU> button.
ff The number of times you press the <IMAGE> button corresponds to the desired ID code number. The number of times
to press the <IMAGE> button is as follows:
Code 1= Once, Code 2= Twice, Code 3= 3 times, Code 4= 4 times, Code 5= 5 times, Code 6= 6 times.
ff The ID code is changed when the <MENU> button is released.
Attention
ff The ID number set on the remote control will be stored unless it is set again. However, it will be returned to [All] if the
batteries are run down or removed for a certain period of time.
Note
ff Set the ID number of the projector from the [Expand] menu → [Remote control]. (x page 70)
ff The ID code is reset to [All] (default) by pressing the <MENU> button and <IMAGE> button at the same time for 5 seconds
or more.
ff If the <IMAGE> button is pressed 7 times or more, the operation is invalid, the ID code cannot be changed.
ENGLISH - 23