1
EDX Ref Guide.fm Page 9 Friday, June 30, 2006 10:48 AM
Displaying a computer image
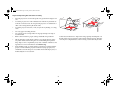
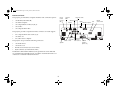
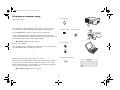
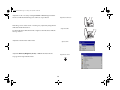
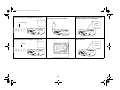
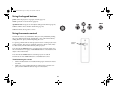
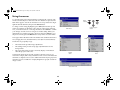
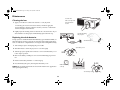
remove lens cap
Remove the lens cap.
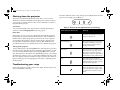
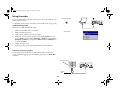
Press the power switch on the back of the projector to the on (I) position.
The Power light on the Status Indicator Panel (page 14) lights green.
press Power switch
press Power button
I
O
2
Press the Power button on the top of the projector or the remote.
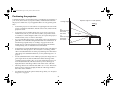
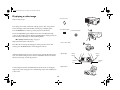
The Power light blinks green and the fans start to run. When the lamp
comes on, the startup screen is displayed and the light is steady green. It can
take a minute for the image to achieve full brightness.
1
? No startup screen? Get help on page 15.
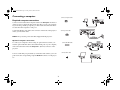
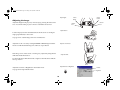
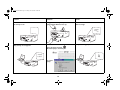
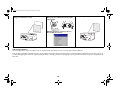
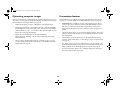
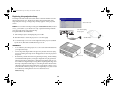
turn on computer
Turn on your computer.
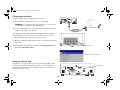
The computer’s image should appear on the projection screen. If it doesn’t,
press the Source button on the keypad or remote.
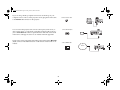
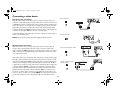
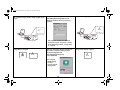
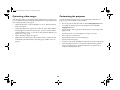
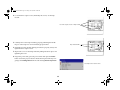
activate laptop’s external port
Make sure your laptop’s external video port is active.
Many laptops do not automatically turn on their external video port when a
projector is connected. Usually a key combination like FN + F5 is used to
turn the external display on and off. Refer to your computer’s documentation to learn your computer’s key combination.
? No computer image? Get help on page 15.
9