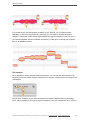
1
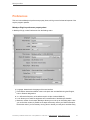
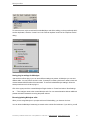
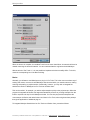
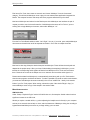
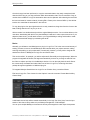
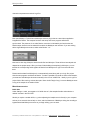
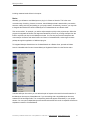
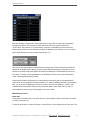
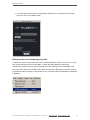
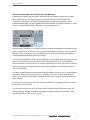
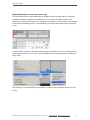
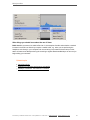
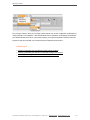
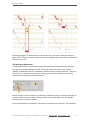
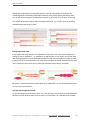
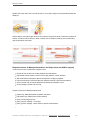
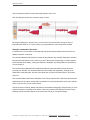
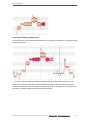
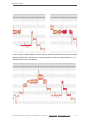
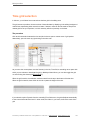
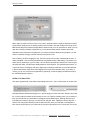
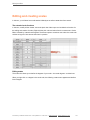
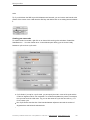
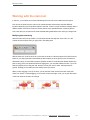
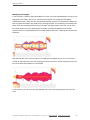
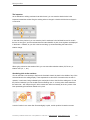
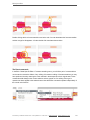
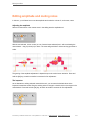
Melodyne editor
Now, from the Rewire pane in the Melodyne user interface, select the pair of outputs you wish to use
for the audio transfer of this Melodyne document to Live. If you are working with a single Melodyne
document, select within Melodyne “1-2”.
In the input area of the corresponding Live track, select also beneath “Melodyne singletrack” the
corresponding pair of inputs. So as to be able to hear the signal permanently, activate input monitoring
for the corresponding track.
You can, if you wish, open multiple Melodyne documents and transfer their audio via separate
channels to separate audio tracks within Live.
Now load or else drag and drop the desired samples into Melodyne. These will then be analyzed and
adapted to the project tempo. When you have finished editing the sample(s) in Melodyne, you can
transfer the corresponding audio signals via Rewire from Melodyne to Live and record them there.
Please note that data from Melodyne is not automatically saved along with your Live project when the
two programs are linked via Rewire. To make it possible to recreate an earlier work situation, you must
save the Melodyne document manually in the form of an MPD file – ideally in the project folder of your
Live project. When saving, activate the option “Save Copy of Audio File(s)” to ensure Melodyne saves
a copy of the sample in the project folder.
Miscellaneous notes
Buffer size
We recommend an audio buffer size of 1,024 samples. Smaller values lead to a marked increase in
the CPU load.
© Celemony Software GmbH 2015 • Last updated on 14.01.2015 • Online Manual • www.celemony.com
90