1
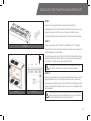
STEP 5.:
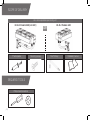
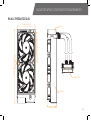
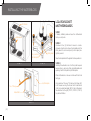
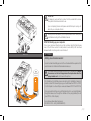
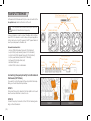
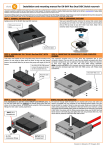
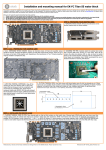
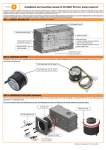
Connect the QDC couplings according to the sketch on the right. You wil feel the
locking click sound when assembled correctly. The installation is now complete.
OPTIONAL
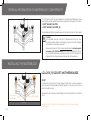
STEP 6.:
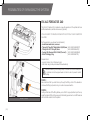
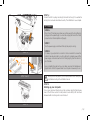
Plug in the ATX bridging plug. Make sure nothing except the fan splitter hub
is plugged to the power supply. You must also unplug the fan and the PWM
connectors from the fan splitter hub (Page 8)
STEP 7.:
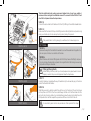
Turn the power supply on and check that only the pump is running.
STEP 5
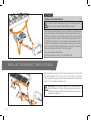
Power supply ATX cable
EK-ATX
Bridging Plug
STEP 8.:
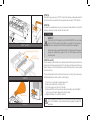
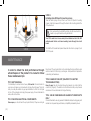
It is always a good practice to conduct a 24-hour leak test to ensure the
system is leak free and safe to use. Once the test is complete power off the
power supply unit and remove the EK-ATX Bridging Plug from the main 24pin ATX cable.
Upon completing the leak test you can safely reconnect all motherboard-,
graphics card- and SATA power cables. Your computer is now ready to use.
STEP 6 and 7
Before you add the power to your computer please check if everything
is installed according to the installation manual.
STEP 9:
Starting up your computer
Turn on your computer. When turning on the computer check that the temperatures of the CPU are normal. It is best practice to enter BIOS/UEFI and check
hardware health monitoring section on initial boot!
STEP 8
/ 19 /