1
Detect Screen
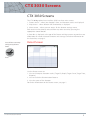
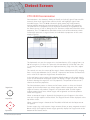
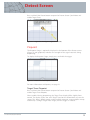
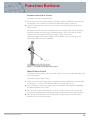
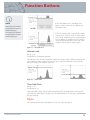
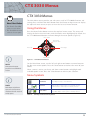
Non-ferrous targets (e.g. pure gold, silver, copper and bronze) contain little or no
magnetic material. Because they are not magnetic, nonferrous targets will generally
display the Target cursor at the top of the Detect screen.
NOTE
In reality, most non-ferrous
targets will display some ferrous
properties resulting in FE values
higher than 1.
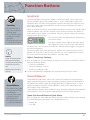
High conductive targets (e.g. large silver coins, copper items) will cause the Target
cursor to appear toward the right of the Detect screen.
Low conductive targets (e.g. small alloy coins, foil, 9 ct and fine jewelry) will cause the
Target Cursor to appear toward the left of the Detect screen.
The object size will have some effect upon the conductivity rating for targets;
generally, the larger the target, the higher the corresponding conductivity rating.
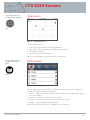
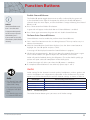
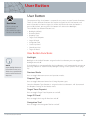
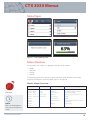
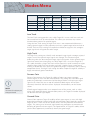
The CTX 3030 offers two Detect Discrimination Patterns, for each of the ten search
modes, Pattern 1 (P1) and Pattern 2 (P2). Each time you press the Detect button
from the Detect screen the detector will toggle between the two available patterns.
This will be reflected in the Status Bar.
Cycle between Discrimination Patterns
Each time you press the Detect button the detector will toggle between the two
available patterns, Pattern 1 and Pattern 2.
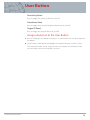
Accept or Reject a Target
The Discrimination Pattern can be modified at any time while detecting in the
Detect screen. An undesirable target can be masked or a desirable target can be
unmasked.
NOTE
Press and hold the Identify button
to allow the size of the region
being altered to be changed.
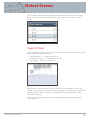
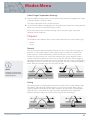
1. When the target is detected, and while the FE-CO numbers are displayed, press the
Identify control button.
•• The first press will turn the pattern white (accepted) in that region
•• The second press will turn the pattern grey (rejected) in that region
•• The third press will return that region to its original, unaltered state
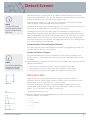
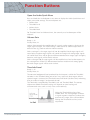
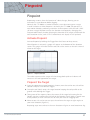
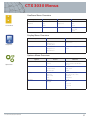
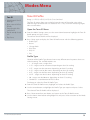
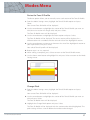
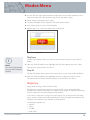
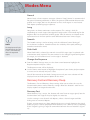
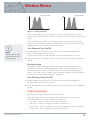
Edit Frame Size
Edit Frame
Edit Frame 1 x 1
Edit Frame 2 x 2
Edit Frame 3 x 3
Target ID accuracy can be affected by other targets or ground minerals so
sometimes you will need a precise pattern. At other times you will need a more
open pattern to ensure you don’t miss a desired target.
The frame used to edit the patterns can be configured to four different sizes
ranging from small to large. A large Edit Frame will modify a larger area of the
pattern, and a small frame will modify a smaller area.
To change the Edit Frame size:
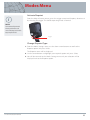
1. Press and hold the Identify control button to display the Identify Quick Menu. The
following options are available:
•• 1 x 1
•• 2 x 2
•• 3 x 3 (default)
•• 5 x 5
Edit Frame 5 x 5
CTX 3030 Instruction Manual
9