1
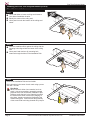
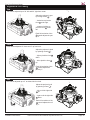
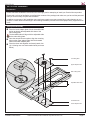
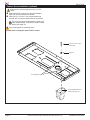
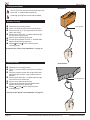
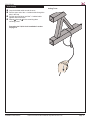
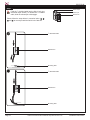
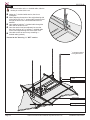
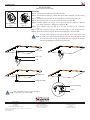
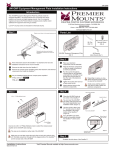
PP-FCTA-QL Mounting the PP-FCTA-QL Pre-set four (4) M5 x 16mm combo screws on the ®® ¯¯ °° ±± ceiling plate assembly (two on each end of the plate). Remove any of the 24˝ x 24˝ or 24˝ x 48˝ tiles that are surrounding the marked tile. Measure 3˝ from the edge of the t-bar frame to the inside of the tile (do this for all four edges of the ceiling tile). The mounting hole should be located in the center-most location of the ceiling tile. Once the mounting hole has been cut, place the ceiling plate assembly on the t-bar rails. Proceed to ″Securing the Ceiling Plate″ section. 1/4”-20 camera screw holes M5 x 16mm Screws Ceiling Plate Assembly Upper Adapter Plate 3˝ 3˝ Mounting Hole 3˝ 3˝ T-Bar Frame Ceiling Tile Page 8 Visit the Premier Mounts website at http://www.mounts.com Installation Instructions