1
 3.3 Working with items
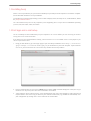
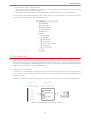
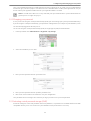
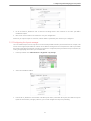
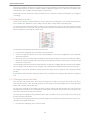
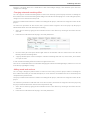
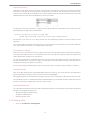
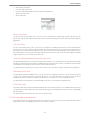
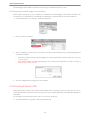
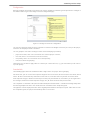
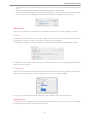
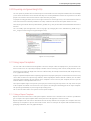
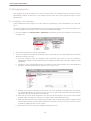
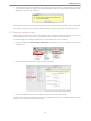
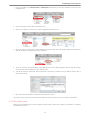
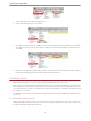
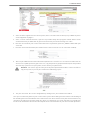
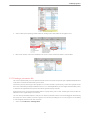
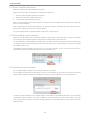
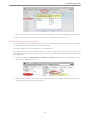
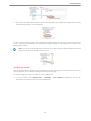
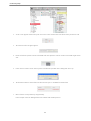
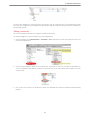
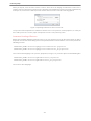
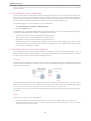
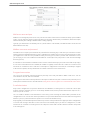
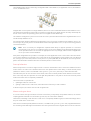
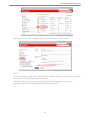
2. The screen switches into edit mode. By default, the start and due dates are on the main tab. Your system
administrator may have changed this.
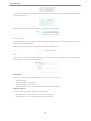
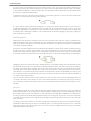
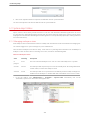
3. Using the little calendar icon, add or change a start date or a due date or both. You can also enter the date
directly in the text field, but you have to know the format.
4. To make this change persistent, click on the „Save“ button in the tool bar.
The item will now have the new start and/or due date. All watchers will be notified of the change, if they have
configured their notification triggers and filters accordingly.
Changes to start and due dates are recorded in the item history. Reminder e-mails will be sent for items due or
overdue if the e-mail reminder facility is configured appropriately.
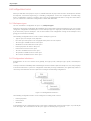
3.3.12 Changing the item watcher list
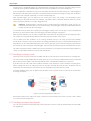
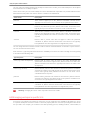
Each item comes with two watch lists: one for people in RACI role „consulted“ (two way communication) and the
other for people in RACI role „informed“ (one way communication). This section describes how to add and remove
users from these watch lists.
You must have retrieved the item for which you want to change the list of watchers. This can be done by entering
the item number in the search field, or by selecting the item from the overview report, or by creating a new item.
You must have been granted permissions to modify the watch list for this item.
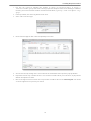
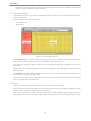
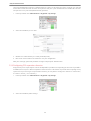
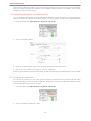
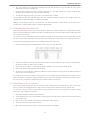
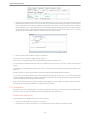
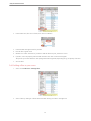
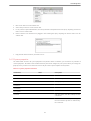
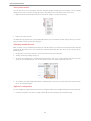
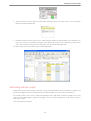
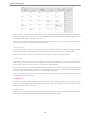
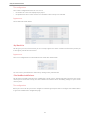
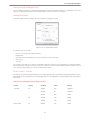
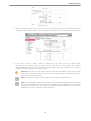
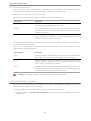
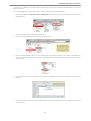
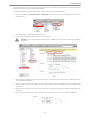
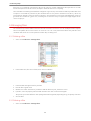
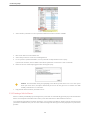
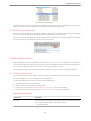
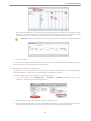
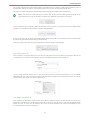
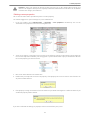
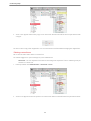
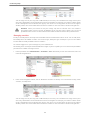
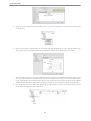
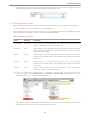
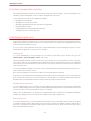
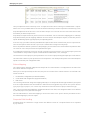
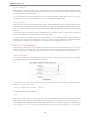
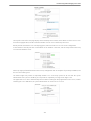
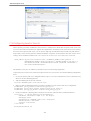
1. On the item detail page, in the bottom part of the screen select tab „Watchers“.
2. To add a consulted, click on the „Add Consulted“ button. To add an informed, click on button „Add Informed“.
To add yourself in these roles, click on „Add me...“.
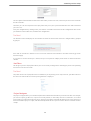
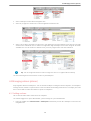
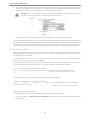
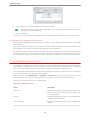
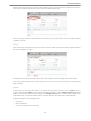
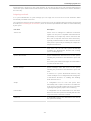
3. Unless you select „Add me...“ a selection box appears. Mark the users you want to add to the list.
4. Click on the „Add“ button to finalize the operation.
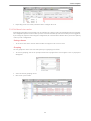
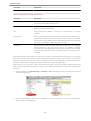
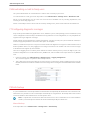
5. To remove users from the lists, mark them with the associated check box. Then click on the „Delete“ button to
remove these users from the list.
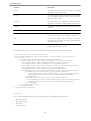
The selected users have been added to or removed from the consulted and/or informed list. All changes to items
will be passed to the notification triggers and filters for these roles. If the trigger fires and the filter lets the item pass,
the users on the consulted and informed lists are notified of changes to the item.
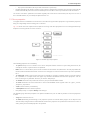
3.3.13 Attaching an item to a parent
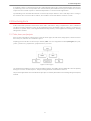
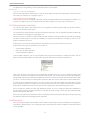
Items can be organized hierarchically. You can either create a child item for an existing item, or you can attach an
item as a child to an existing parent item. This sections describes how to attach an item to a parent item.
You must have chosen an item, and you must be in edit mode for this item. You can get there by either creating
a new item, or by editing an existing one.
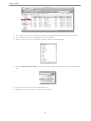
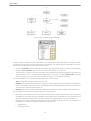
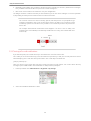
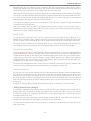
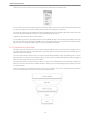
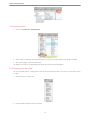
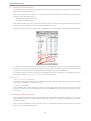
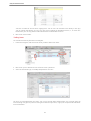
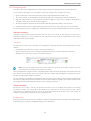
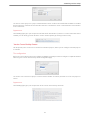
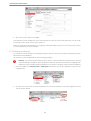
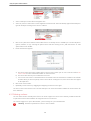
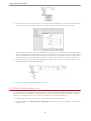
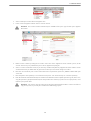
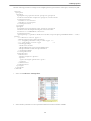
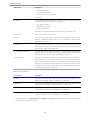
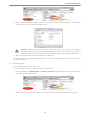
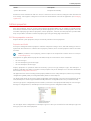
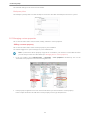
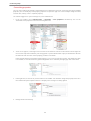
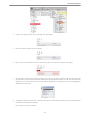
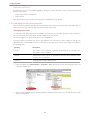
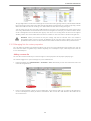
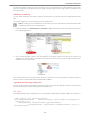
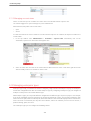
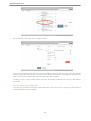
1. Click on the toolbar icon labeled „Choose Parent“.
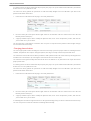
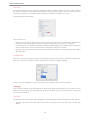
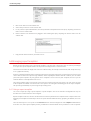
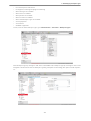
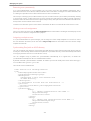
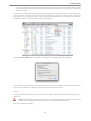
2. A new window opens. You can now define a filter by project and subsystem, or directly enter the item number
of the parent item.
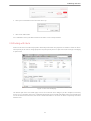
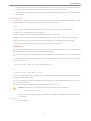
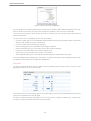
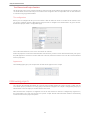
3. Click on the „Search“ button. A list with items matching the filter appears.
4. Select one of this list as the new parent item.
5. Click on the item you want to add as a parent item to finish this operation.
61