1
Page 8 of 48
5.0 SETTING UP THE BALANCE
5.1
ASSEMBLING THE BALANCE
Screws
with nuts
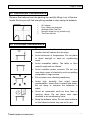
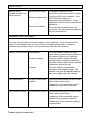
• Locate the balance on a solid surface, free from vibration
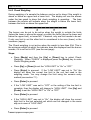
• For PGWi models, tilt the balance
on it’s side and remove the two
shipping screws and nuts before
use. If you need to ship the
balance, replace the screws but do
not over-tighten which may damage
the internal mechanisms
Label
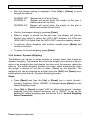
• Gently place the 4 pan supports (if not already fitted) and then the
stainless steel pan on the weighing platform
• Place the draught shield frame and the top cover around the pan (for
mg models only)
• Level the balance using the adjustable feet and spirit level
• Connect power to the balance
• For best performance, let the balance warm up for 30-60 minutes and
calibrate before using
5.2
LEVELLING THE BALANCE
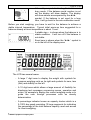
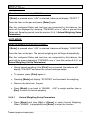
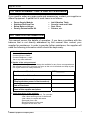
After placing the balance in a suitable place,
level it by using the spirit level on the rear of the
balance. To level the balance turn the two
adjustable feet at the rear of the balance until
the bubble in the spirit level is centred.
5.3
WARM-UP TIME
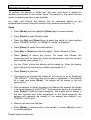
Attach the power supply cable to the connector
on the rear of the balance. Plug the power
supply module into the mains. The display will
indicate the balance serial number (if set) and
the software revision number followed by the
capacity of the balance. Next the balance will
run a self-test by displaying all segments
© Adam Equipment Company 2007