1
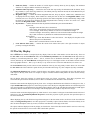
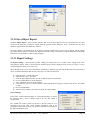
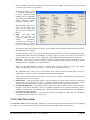
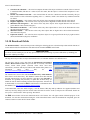
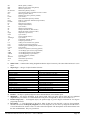
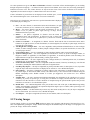
The “Use Fonts” check box controls if the printer fonts programmed in Set Printer Fonts... (see section 3.1.9) are used to
draw the chart. If it is not checked, the default font for the selected printer is used — this may cause the chart to print more
quickly.
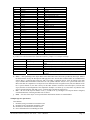
When the “Print in Color” check box is checked, charts are printed in full color (using the same colors used on-screen) rather
than only using black ink. There are additional printer-only colors for the border lines and legend and title box text. See
section 3.3.9 to customize the colors printed
b)
Border
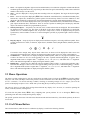
The four border distances, in inches, can be individually set. This, in effect, allows the chart size to be controlled. This
feature is very useful, after disabling the title and legend boxes, for making charts that can be “pasted” into other documents,
such as an astronomy club newsletter.
c)
Legend Notes
The seven text boxes towards the bottom of the dialog box labeled Line 1-7 can be used to add descriptive text to the
“Notes” section of the chart legend box.
d)
Save Object Report
Checking this box causes an Object Report file to be generated based on the objects printed in the chart. For details on this
feature see section 3.1.11. Note that this report will usually contain a slightly different list of objects than a report generated
by the “Save Object Report” function, which uses objects plotted on the screen.
e)
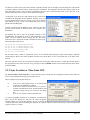
Split Chart Settings
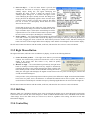
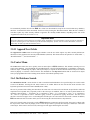
Checking the “Enable” check box enables the generation of split charts. This feature prints two charts on one page. The first
“main” chart (located on the top of the page in a “portrait” mode chart or on the left side of the page for a “landscape” mode
chart) is printed in the normal way, as if there were no second chart printed. The “secondary” chart is centered at the same
sky position, but is printed at the specified field size, usually to produce a zoomed in chart of the same sky area.
The “Main Chart Size” setting specifies the percentage of the available page space that is used for the main chart.
The “Secondary Chart Field Size” setting specifies the field height (in degrees) for the secondary chart. This setting can be
smaller or larger than the main chart.
The “Auto Place Labels” check box is used to enable the auto-placing of labels for the secondary chart. This feature attempts
to avoid the overlapping of text labels in crowded fields. Note that the main “Auto Place Labels” setting in the Field menu is
used to control this feature for the main chart.
f)
Symbol Scale Factor
The “symbol scale factor” setting allows the user to increase or decrease the size of the star, deep sky, and other symbols
drawn on the chart. Printers of varying resolutions (pixels per inch) may produce higher quality output at values other than
the standard setting of one. Experiment with this setting to determine the best setting for your printer.
If the user enters values smaller than one, the symbols will be drawn proportionately smaller. Likewise, if the user enters
values larger than one, the symbols will be drawn proportionately larger.
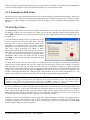
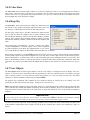
3.1.9 Set Printer Fonts
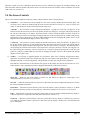
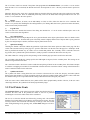
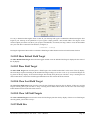
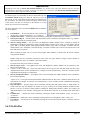
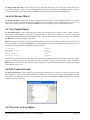
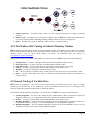
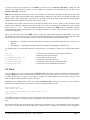
The Set Printer Fonts... menu selection presents a dialog box allowing the user to
customize the fonts used in the printed star charts. A list box is presented
containing the 13 text items whose fonts can be customized.
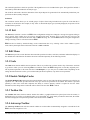
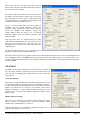
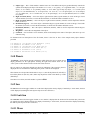
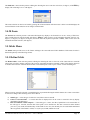
The user is to select the desired item followed by pressing ‘OK’. The standard
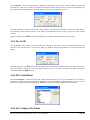
Windows font control dialog box will then be presented as shown below. The font,
font style, and size can be selected. Note that only “TrueType” fonts can be used.
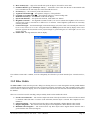
After exiting the dialog box by pressing ‘OK’, the Set Fonts dialog box will be redrawn.
The Earth Centered Universe Pro V6.0 — User’s Manual
Page 23