1
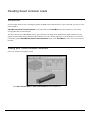
3DI lmageWrap Panel - Masking Techniques
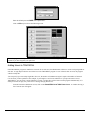
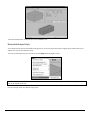
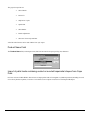
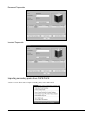
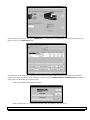
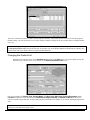
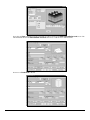
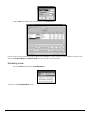
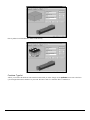
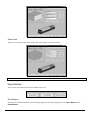
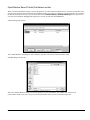
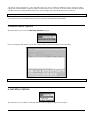
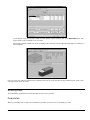
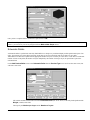
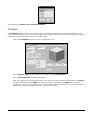
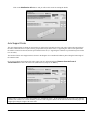
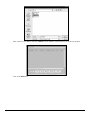
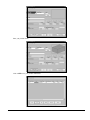
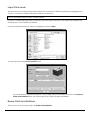
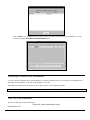
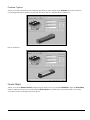
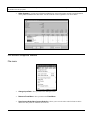
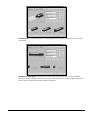
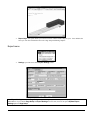
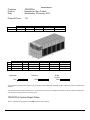
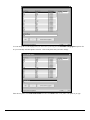
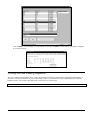
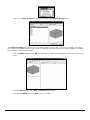
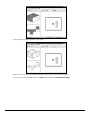
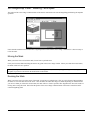
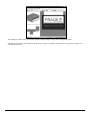
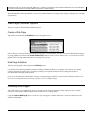
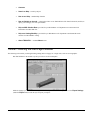
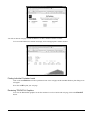
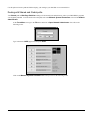
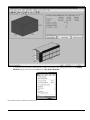
The portion of the source image contained inside of the mask is transferred to the current ImageWrap panel during the snapshot
operation.
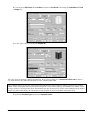
Notice that the mask has been moved from its original position centered on the source image. Sometimes it is also necessary to
resize the mask.
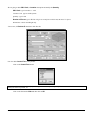
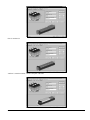
Moving the Mask
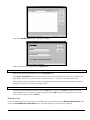
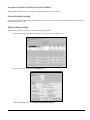
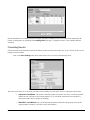
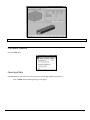
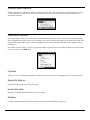
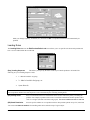
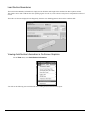
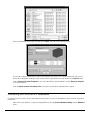
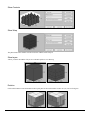
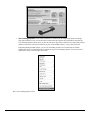
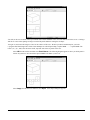
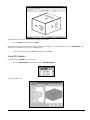
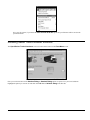
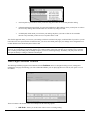
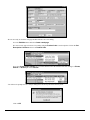
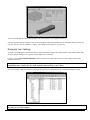
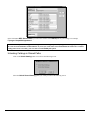
When your mouse cursor is inside the mask, it turns into a 4-pointed arrow.
Click your left mouse button and drag the mask to any point in the source image window. When you release the mouse button,
the mask will be in its new position.
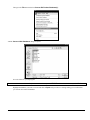
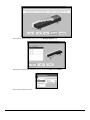
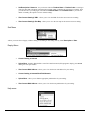
Note: If you drag the mask off the screen or outside of the image window, the mask may disappear. To get it back, simply select
the panel of your choice and click on the mask button on the toolbar.
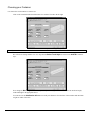
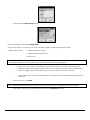
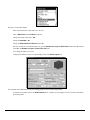
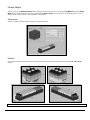
Resizing the Mask
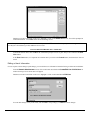
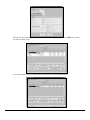
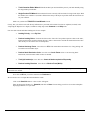
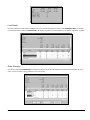
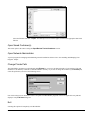
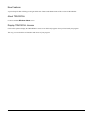
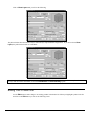
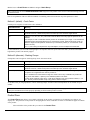
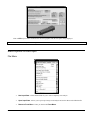
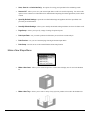
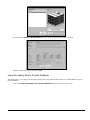
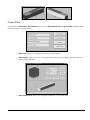
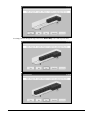
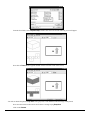
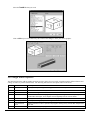
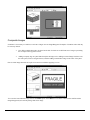
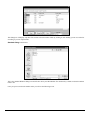
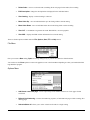
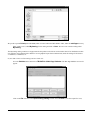
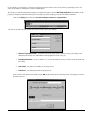
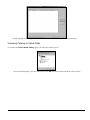
When your mouse cursor is on the corner of the mask, it turns into a 2-pointed arrow. Click on your left mouse button and drag
the mouse in one of the directions of the arrow. This will make the mask either larger or smaller depending on which direction
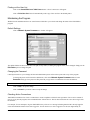
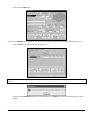
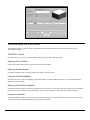
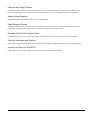
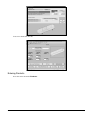
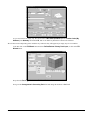
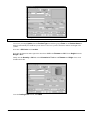
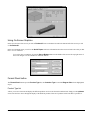
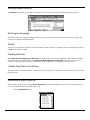
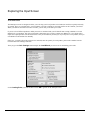
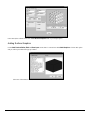
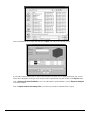
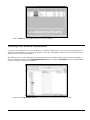
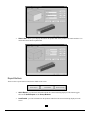
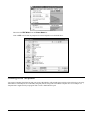
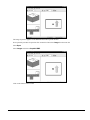
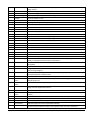
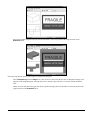
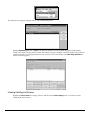
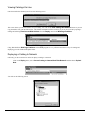
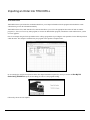
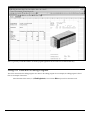
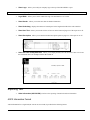
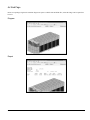
you moved. When you release the mouse button, the mask will be re-sized as specified. The diagram below shows the results of
moving and re-sizing the mask. Notice that the portion of the source image contained inside of the mask is transferred to the
current ImageWrap panel.
162
TRUCKFILL Version 2.13