1
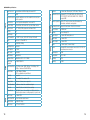
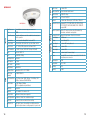
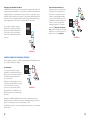
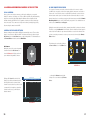
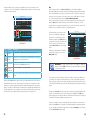
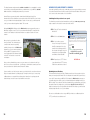
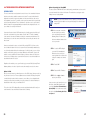
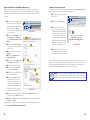
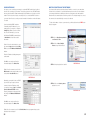
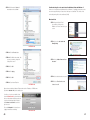
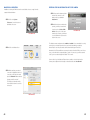
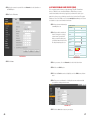
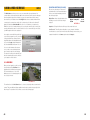
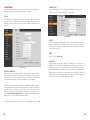
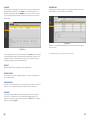
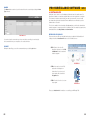
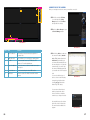
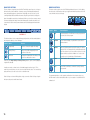
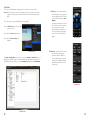
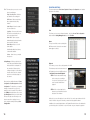
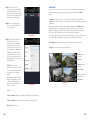
2
1
CONNECTING TO THE CAMERA
Before you can begin to monitor the camera, you must first connect to it.
3
STEP 1. Click on the blue Full Menu
icon to the right of the Setting
Manage button in the Tool Bar on
the right side of the display.
STEP 2. Select Device Manage to open
the Device Manage window.
4
5
6
PICTURE 4-7
PICTURE 4-8
Item #
Area
Function
1
Real-Time Monitor
Live viewing of selected channels plus playback of
recorded video.
2
Window Controls
Close, minimize, lock or switch the program’s window.
3
Tool Bar
Controls include: Device List, PTZ Direction, PTZ
Advanced, Tool and Setting Manager.
4
Image View Options
Controls for number of channels viewable at once plus
other options
5
Function Buttons
Controls and settings for various NVR functions.
6
NVR Status
Shows the status of the NVR, the hard drive and the
cameras
STEP 3. Click the Add button and enter
the camera’s IP address (Section
2.3) or DDNS address (obtained in
Section 2.5), port number, your
user name and password (which are
the same that you use to log into the
camera directly). You can also give
the camera an identifying name and
you can add a note in the Description
field.
You can also add other types of
devices such as a network backup
storage drive using this window.
Leave Login Type at its default
Network Type TCP setting.
PICTURE 4-9
You can return to this window to
update your passwords, add or
remove other devices and make
network access changes if need be.
A prompt will pop up at the bottom
right of the screen to indicate that
the camera has been added to the
program.
66
PICTURE 4-10
67