1
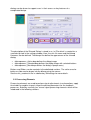
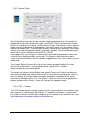
To use the camera element, a webcam or another camera needs to be connected
and visible to the system (installation of correct device drivers etc). After inserting the
camera element into the design, the device is openend and the live-stream is
displayed in a seperate window.
The display interval can be set using the field show every n frame in the element's
user dialog. Using a good webcam, 30 frames per second can be captured even on a
small Atom CPU (netbook).
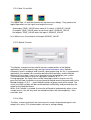
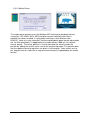
Three radio-buttons control the mode for the Camera-element:
'No archive operation' is usually used for feature tracking (head-mouse designs).
When 'Record to archive' is pressed, an open-file dialog can be used to choose a
filename and folder for the avi-file. Then, a dialog for codec-selection appears. The
codec compresses the image frames befor writing them to disk. Choose a codec that
does not use much processor time ('uncompressed' is surely the fastest, but gives
very large video archives, 'Cinepak' or 'Microsoft video1' are possible alternatives).
After selecting the codec and starting the design, the video frames are written to the
file until the Stop Camera - button is pressed, which also closes the archive file.
'Playback from archive' also displays an open-file dialog where the .avi file of a
previous recording can be chosen. After starting the design, the video stream will be
delivered from the archive and not from the webcam. This is also possible wehn no
webcam is installed in the system.
Feature Tracking
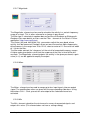
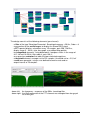
The element will perform a detection of a frontal human face on the videostream from
camera or video archive file. When a face has been found, the nose and chin
positions are estimated and tracked by an optical flow algorithm. The coordinates of
nose and chin relative to the last image are sent to the element's output port. After
appropriate filter- and resize-operations, these coordinates can be used by the
Mouse-Controller element to perform mouse movement and clicking operations (for
details see the Camera-Mouse example design)
5.1.9 Skindialog
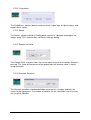
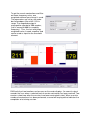
The Skindialog Element provides a custom drawn, skinned user dialog to the design.
Buttons and sliders with mouse-sensitive areas can be defined using bitmap graphics
and can be saved into a dedicated .ini file. The values of the sliders or buttons can be
changed by the user during the desing is running, and the current values are
available to other elements at the skin dialog element’s output port. Thus, special
BrainBay - User Manual
page 17 / 47