1
191 SP N KFC
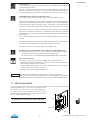
5.6 DISASSEMBLING OF THE DISPENSING DOOR
CAUTION
Before disassembling the dispensing head, make sure that the hopper
and the cylinder are completely drained.
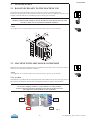
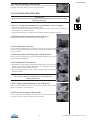
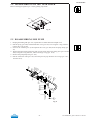
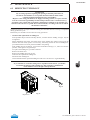
1. Remove the two retaining knobs (pos. 8A) and pull the door assembly towards you sliding it
off the two front panel studs.
2. Pull the dispensing handle (pos. 5) so the piston (pos. 30) raises in its housing.
3. Remove the pivot pin o-ring (pos. 1285) and the pivot pin (pos. 6) out releasing the dispensing
handle (pos. 5).
4. Using the dispensing handle lever pull the piston (pos. 30) out completely.
5. Using the o-ring extractor, remove the two piston o-rings (pos. 1153), and the large dispensing
door o-ring (pos. 1188).
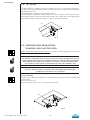
30
1188
1153
6
1285
5
7
Fig. 23
8A
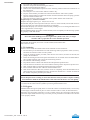
5.9 DISASSEMBLING OF THE BEATER
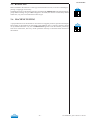
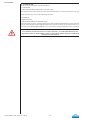
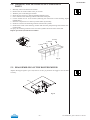
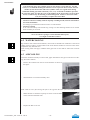
1. Remove the beater from its seat in the cylinder, being careful to not knock the walls of the
cylinder.
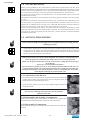
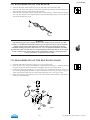
2. Slide the beater seal (pos. 28) out of the beater shaft.
3. Lift the counter-beater (pos. 24) from the shaft and remove it.
028
024
Fig. 25
WARNING
Like all moving parts, the complete beater is also subject to wear and tear. For this
reason, we recommend checking the amount of wear to parts in direct contact with one
another (beater/beater idler and beater/cylinder walls) on a regular basis during
scheduled cleaning operations and in any case, every six months of machine operation.
In particular, make sure that the wear on the bushing on the beater idler is no more than
2 mm, as indicated by the marking on the bushing itself. If there is more than 2 mm
wear, it is necessary to replace the beater idler.
191 SP N KFC_EN - 2012/11 - Ed. 01
- 32 -