1
Section 12. REMOTE KEYSWITCH
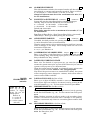
This section provides instructions for the connection of an optional remote
Ademco 4146 keyswitch for remote arming and disarming of the system, and
the programming necessary when a keyswitch is used. Also included is a
description of how the keyswitch operates in the system.
Installing the Keyswitch
The remote 4146 keyswitch (with red and green LEDs to indicate status) is
connected to zone 7.
Note that you can use a keyswitch in one partition only.
Remote Keyswitch Connections
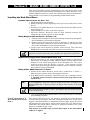
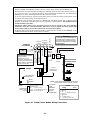
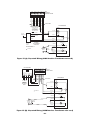
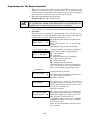
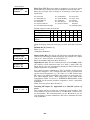
1. Connect the 4146 keyswitch's normally open momentary switch to zone 7
terminals (18 and 19). Remove the 2000 ohm EOL resistor if connected
across zone 7 terminals.
When zone 7 is used for keyswitch usage, zone 7 is no longer available for
use as a protective zone.
2.
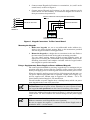
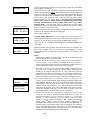
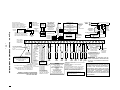
Connect the Red and Green LEDs to pins 7, 8, and 9 on the 9-pin
connector, using a 4142TR cable as shown in Figures 19 (A) and (B).
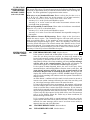
3. Connect a 2000 ohm EOL resistor across the momentary switch.
4. You can wire an optional closed-circuit tamper switch (model 112 ) in
series with the zone. If the switchplate is then removed from the wall, the
tamper will open, disabling keyswitch operation until the system is next
disarmed from the keypad.
If the tamper (or zone 7 loop wires) is opened when the system is armed, an
alarm will occur.
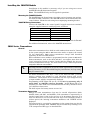
If you are using more than one keyswitch, connect the EOLR at the last
switch. The momentary arming switches must all be across the loop and the
tamper switches in series with it. The LEDs will not be as bright since they
will be sharing drive current in this case.
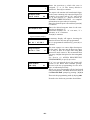
The 4146 keyswitch can be used with only the Red and Green LEDs
connected (omitting the lock switch and tamper switch) to simply provide an
arming/ready status indicator panel. When so used, no connections are made
to zone 7, which may then be used as a hardwired protection zone,
provided you do not enable field ✱30. The LEDs then indicate the
arming/ready status for the partition to which hardwired zone 7 is
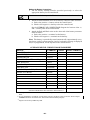
programmed (see ÒLED IndicationsÓ table under Keyswitch Operation at
the end of this section).
–59–