1
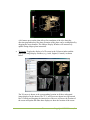
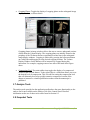
Clicking on the arrow/2D label icon (displayed as a pointing hand) and then clicking
inside the active display window will place an arrow annotation. A Label Properties area
will appear above the Segmentation area and show the properties of the arrow annotation.
Label properties include a text area for viewing and modifying the label text, a size slider
for modifying the size of the label text, a font selection, and three buttons for modifying
the style of the text (bold, italic, and shadow). In addition, the location of the arrow and
the label text can be modified interactively using the mouse within the display window.
The color of the arrow and text can be modified by double clicking on the color square
for the arrow annotation in the measurement and annotation list.
8.3.6 Deleting a Measurement
The measurement delete button is displayed as an icon with a garbage can. A
measurement or annotation can be removed permanently from the measurement list by
first clicking on the measurement/annotation in the measurement list, which highlights
the entry in blue, and then clicking on the measurement delete button.
8.4 Review Tab
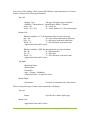
The Review Tab, in the Control Panel, provides tools for creating and managing
snapshots and movies. Shortcuts to these features can also be placed in the main toolbar
by going to the Window drop down menu, selecting Toolbars and then Snapshot.
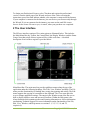
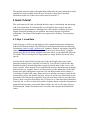
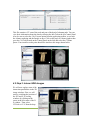
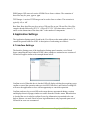
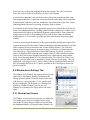
Snapshot and movie support is provided to allow the user to quickly save and summarize
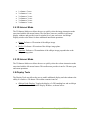
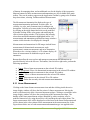
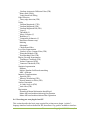
data visualization results. The Figure on the right shows the Review Tab containing five
snapshots in the Snapshot list.
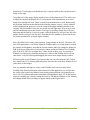
8.4.1 Snapshot
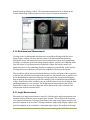
Saving a snapshot captures the full state of the ISP
application. ISP allows the user to save multiple snapshots
during a visualization session. This is useful for rapidly
indexing through a series of visualization concepts in a
single session. Saving the ISP session will not only save the
current state of ISP for future retrieval, but will also save all
snapshots.
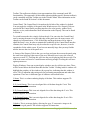
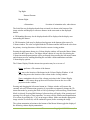
The Snapshot area consists of a snapshot list area with
several snapshot management buttons below it. The buttons
perform the following operations (left to right):
• Previous: Selects the previous snapshot (move up 1).
• Next: Selects the next snapshot (move down 1).
• Add: Adds a snapshot to the list.
• Apply: Sets the system state to the currently selected
snapshot.
• Update: Updates the currently selected snapshot with
41
Copyright © 2009 Kitware, Inc.