1
DeviceAnywhereTMUser Guide
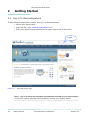
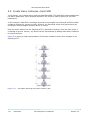
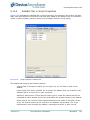
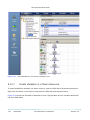
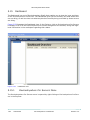
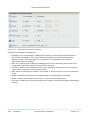
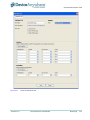
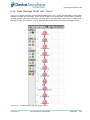
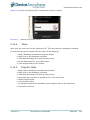
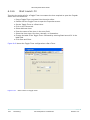
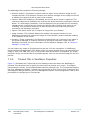
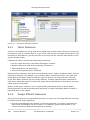
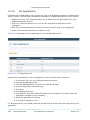
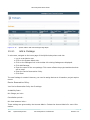
The Test Suite View has three windows to manage Test Suites:
• The Add, Delete, Sequence window shows you the test scripts that have been added to the
Test Suite. The buttons on the bottom of the window allow you to add, delete, and
sequence test scripts. Use the Up and Down buttons to sequence the test scripts in the list.
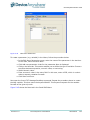
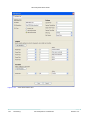
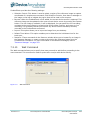
• The Configure window (not shown here) enables you to control test script execution based
on the return status of the test script. When an individual test script executes, it returns
with a Success, Failure, Exception or Interrupted status. The Configure window enables
you to specify a final action based on each status. For example, when a test script returns
a Failure status, you can select abort or continue from the drop-down menu in Final Action
column. In this way, the Test Suite aborts or continues immediately after the Failure status
is returned.
• In addition, you can add a value in the Times field to set the number of iterations of the test
based on status. For example, when you want to run the Lesson 5a test script in the Test
Suite a second time because it fails, increase the number in the Times field to 1.
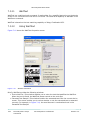
• The Current Script window (not shown here) enables you to view the current script that is
executing.
5.11.2
Creating a Test Suite
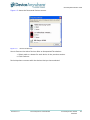
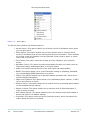
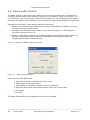
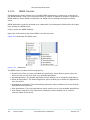
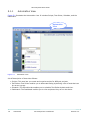
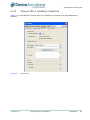
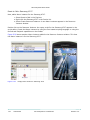
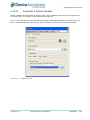
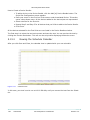
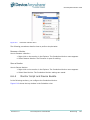
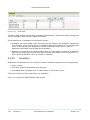
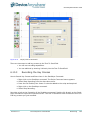
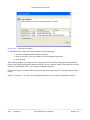
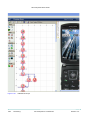
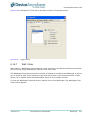
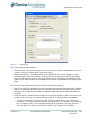
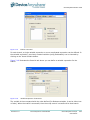
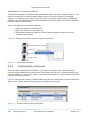
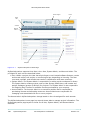
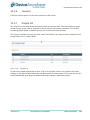
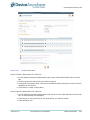
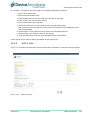
Figure 5-48 illustrates the New Test Suite command in the drop-down menu.
Figure 5-48
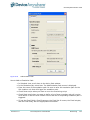
Create a New Test Suite
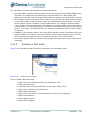
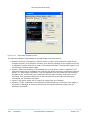
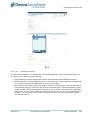
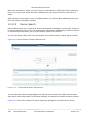
How to Create a New Test Suite:
1.
Right click on the Test Suites tab in the Automation view.
2.
Select New Test Suite.
3.
Enter the name of the new Test Suite. In this case, MOT L6 Test.
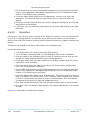
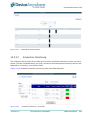
4.
Right click on a device in the Device list.
5.
Select Add to Test Suite.
6.
Right click on the device in the workspace. The Device menu appears.
7.
Select Access Device.
8.
Select Acquire Device.
9.
Select Save Changes.
Revision 1.0
DeviceAnywhere Confidential
Automation
137