1
4. Adjust the angle
Adjust the projector angle:
• Shift the lens horizontally and vertically.
1 Press H&V SHIFT on the remote control.
2 Press P, R, O or Q on the remote control.
• Adjust the projector angle by rotating the
adjustment feet.
Easy Start
BPP. 29, 30
5. Adjust the focus and the zoom
1
2
Press FOCUS +/– on the remote control to adjust the focus.
Press ZOOM +/– on the remote control to adjust the zoom.
BP. 30
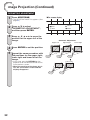
6. Correcting the image distortion due to the projection angle
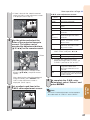
1 Press KEYSTONE on the projector or on the remote control.
2 Press ENTER on the projector or on the remote control.
3 Press P, R, O or Q to move the position for the upper left of the image.
4 Press ENTER to set the position.
5 Repeat the same procedure with the positions for the upper right, lower right and lower
left of the image.
• When the position of the lower left is set, the correction is
made and the display disappears.
BP. 31
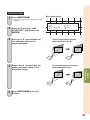
7. Select the Input mode
On the projector:
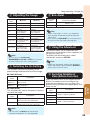
Press INPUT R/P to display the INPUT list. Use INPUT R/P to select the input mode.
INPUT list
INPUT
HDMI1
On-screen display (HDMI1)
HDMI1
YPbPr
1080P
HDMI2
COMPUTER
COMPONENT
On the remote control:
Press HDMI 1/2, COMPONENT or COMPUTER to
select the input mode.
BP. 35
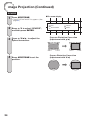
8. Turn the power off
Press STANDBY/ON on the projector or STANDBY on the remote control, and then press
the button again while the confirmation message is displayed to put the projector into
Standby mode.
On-screen display
On the remote
On the
control
projector
BP. 28
19