1
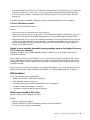
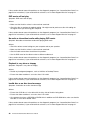
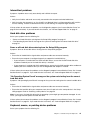
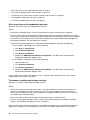
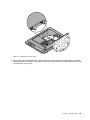
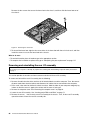
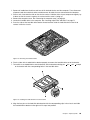
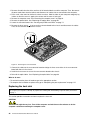
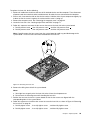
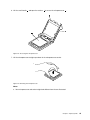
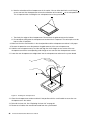
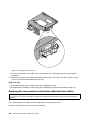
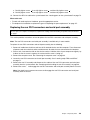
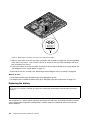
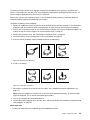
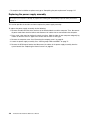
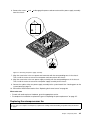
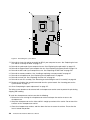
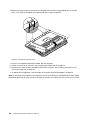
6. Remove the screws 1 and disconnect the touch panel control board cables from the touch panel
control boards to disengage the touch panel control boards from the chassis.
Figure 54. Removing the touch panel control boards
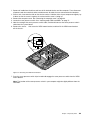
7. Connect the touch panel control board cables to the new touch panel control boards.
8. Reinstall the LCD panel. See Replacing the LCD panel on page 119.
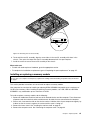
9. Align the screw holes in the new touch panel control boards with the corresponding ones in the chassis.
Then, install the screws to secure the new touch panel control boards to the chassis.
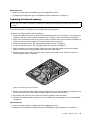
What to do next:
To work with another piece of hardware, go to the appropriate section.
To complete the installation or replacement, go to Completing the parts replacement on page 127.
Replacing the power switch and control button board
Attention:
Do not open your computer or attempt any repair before reading and understanding Important Safety Information
on page 1.
This section provides instructions on how to replace the power switch and control button board.
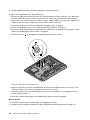
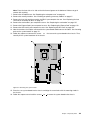
To replace the power switch and control button board, do the following:
1. Remove all media from the drives and turn off all attached devices and the computer. Then, disconnect
all power cords from electrical outlets and disconnect all cables that are connected to the computer.
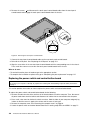
2. Place a soft, clean towel or cloth on the desk or surface. Hold the sides of your computer and gently lay
it down so that the screen is against the surface and the cover is facing up.
3. Remove the computer cover. See Removing the computer cover on page 84.
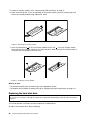
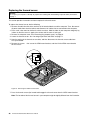
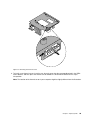
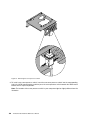
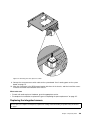
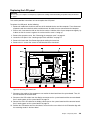
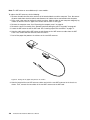
4. Locate the power switch and control button board. See Locating major FRUs and CRUs on page 71.
124
ThinkCentre M93zHardware Maintenance Manual