1
INSTALLATION Continued
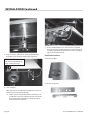
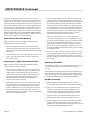
B. Level each unit (to the oven rack) by adjusting the six inch
(6”) legs (refer back to Item 1 for limitations), or where
legs are not used, adjust level with shims. Readjust legs, if
required.
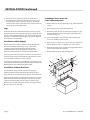
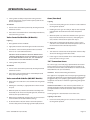
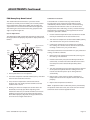
Spacers X2
End rail support
(Right & Left) brackets
mounted at each end
of the rail.
C. Connect units together by mating the unions at each
end of the manifold. (Adjoining units must have
matching unions, unless the union parts are of the
same specifications, a leak proof connection cannot be
assured.) Hand tighten unions at this point.
D. The units should be fastened at the rear by inserting 5/16”
bolts through the holes provided at the rear of the burner
box sides. Install washer and nut and hand tighten. Be
sure of proper unit alignment in the battery before final
tightening of these bolts or unions. Improper tightening
will cause “fanning” or “bowing” of batteried units.
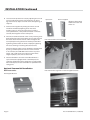
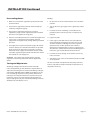
Rail with studs for end rail bracket.
The final tightening of the union should be accomplished
by using a suitable spanner wrench. If such a wrench
is not available, the GARLAND union collar has special
ridges, and a cold chisel can be driven against these
ridges to properly seat and seal the union.
E. The manifold of this unit or the manifold of which is
a part of must be equipped with a certified pressure
regulator suitable for battery application and adjustable
for an outlet pressure at the manifold as specified on the
rating plate.
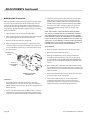
Optional Common Rail Installation
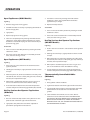
Rail Accessories
Rail with stud to align with rail center support bracket.
Rail Support Bracket
Page 8
Part # 1382680 Rev 2 (12/09/10)