1
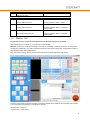
Pos.
5.
Description
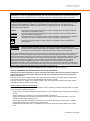
NOTICE: The filament thread is guided by the
brass roller.
6.
Turn the adjustment screw carefully and as far
as it will go (clockwise) until it can no longer be
turned. Then, turn the adjustment screw half
turn to the left. Now the print roller is set
correctly.
7.
Push the filament supply back into the
housing.
8.
Connect the control unit of the 3D print head
with the power supply and the mainboard of
the STEPCRAFT 3D desktop system. Turn the
control unit of the printer on; set the
temperature to 190° C.
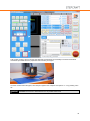
Picture
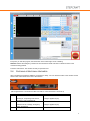
After the operating temperature is being
reached, start to exhaust the system. The
filament must be boosted with moderate
forward jogging of the 4th axis (max. speed
20%) until a clean thread is printed out.
9.
CAUTION: Hot!
Remove the thread, e.g. with a pair of
tweezers.
NOTICE: If the filament is already inserted into the 3D print head, only steps 8 and 9 apply.
3.5
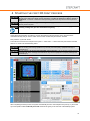
DEFINITION OF WORKPIECE ZERO POINT (Z)
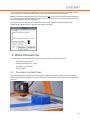
The workpiece zero point (Z) is the point where the end mill touches the surface of the workpiece. Jog carefully
with the nozzle of the 3D print head towards the print table.
14