1
User Manual ► FEISOL CT-3301, CT-3401 and CT-3402
A. Mount and Center Column Installation
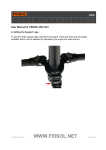
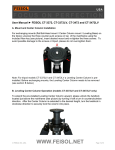
For exchanging Mounts (flat Ball Head Mount / Center Column Mount / Leveling Base) on
the Tripod, unscrew the three set screws at the side of the mainframe using the included
hex key (see picture), insert desired Mount and re-tighten the three set screws. To avoid
possible damage to the screws or Tripod, do not over-tighten them.
B. Leg Tension Adjustment
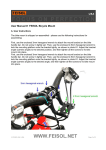
Insert the two hexagonal wrenches (included) into the two screws at the base of the leg
(see picture) and tighten or loosen them to the desired friction, by turning the wrenches in
opposite directions.
© FEISOL INC, USA
WWW.FEISOL.NET
Page 1 of 4
C. Leg Extension
In order to extend a leg section, turn the Twist Lock approximately one half turn in the
counterclockwise direction. Note: If the Twist Lock is turned too far (approximately 20
turns), the leg section may fall out and Compression Rings may become lost or damaged.
To firmly lock a leg section into place, turn the Twist Lock approximately one half turn in the
clockwise direction. Do not over-tighten.
D. Weight Hook Installation
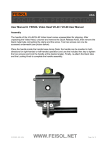
To increase Tripod stability during windy conditions, a Weight Hook is included, allowing for
heavier objects (e.g. backpack, weight bags) to be attached to the tripod. The Hook can be
screwed into the bottom side of the Mounting Plate, and is pre-installed on optional Center
Column Kits (see picture).
© FEISOL INC, USA
WWW.FEISOL.NET
Page 2 of 4
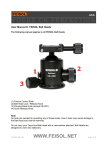
E. Ball Head (optional) Installation
When using the flat Mounting Plate (pre-installed), making sure that the Panning Knob of
the Ball Head is in the locked position, screw the Ball Head into the Mounting Screw by
turning the Ball Head clockwise until it fits snugly. Do not over-tighten.
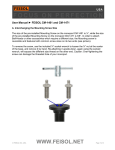
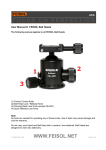
When using a Center Column, making sure that sure that the Panning Knob of the Ball
Head is in the locked position and that the Twist Lock of the Center Column is securely
locked, screw the Ball Head onto the mounting screw by turning the Ball Head clockwise
(see picture). Do not over-tighten.
© FEISOL INC, USA
WWW.FEISOL.NET
Page 3 of 4
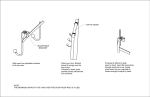
F. Spike (optional) Installation
Remove the Rubber Caps on the end of the legs by twisting and working them forward –
they fit snugly in order to prevent them from coming off accidentally. After they are removed,
a thread is exposed inside the tip of the leg, into which a Long or Short Spike can be
screwed (for use on scratch- sensitive surfaces, remove Spike and replace Rubber Cap).
Note: Damage to your Tripod’s Carbon Tubes or Aluminum parts can occur if they are
dropped, squeezed, overloaded, or forced downward (e.g. into sand dunes or snowbanks).
Exercise caution to avoid such conditions.
© FEISOL INC, USA
WWW.FEISOL.NET
Page 4 of 4