1
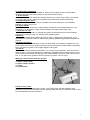
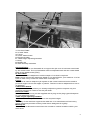
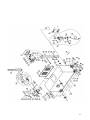
Fitting the on / off switch.
Fit the on / off assembly to the side of the body as shown.
On / off switch housing
The jointer is now fully assembled but before the machine is connected to the
electrical supply the following checks and adjustments must be carried out.
1. Move the jointer to the location that it will be used.
2. Check that the cutter head can rotate freely and that the teeth do not contact
either the in or the out feed tables.
3. Check that the guard is covering the cutter head and that is free to move and
spring back once released.
4. Check that all tools have been removed from the machine.
Connecting the electrical supply.
Note. A qualified electrician must carry out the
installation.
Ensure that the main supply corresponds with
that of the machine [Single phase 220 V].
It is recommended that you use a 30-amp mains
breaker.
If you need a longer cable than that
supplied on the machine, you can connect a
new cable into the internal power termination.
Note. The machine is not normally supplied with
an electrical plug, as the type of plug will be
dependent on the installation.
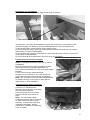
Electrical cable
Connecting the dust collection.
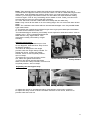
Connect a 4” flexible hose
between the dust hose connector
and your dust collector.
Once fitted pull on the hose to
ensure that the connection is
tight.
Note. You will need a dust
collection system with a minimum
of 1000 cubic feet per minuet
capacity. The stronger the dust
collection the better, as the
machine is capable of producing
a lot of waste.
Dust hose connector
10