1
QuickStart
Page in progress for 1.0.0
This page will teach you the basics of LotAtc’s use.
For each notion/feature, one or more detailled page(s) is(are) linked, to go farther.
Connection to the server
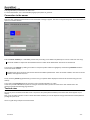
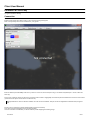
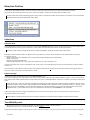
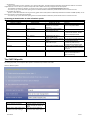
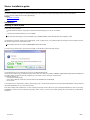
Execute LotAtc 4 DCS client and wait for the "Not connected" message to appear, then click on the [Connect] button of the main toolbar to
open the connection window:
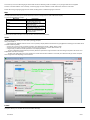
Enter the server address (IP or URL/DNS), set the TCP port if using a non-default one (default port is 10310; LotAtc uses TCP only).
The server address is unique: the same address works for LotAtc and for DCS clients. One server to rule them all!
Then choose your coalition by clicking on the blue or red square (active coalition is highlighted), and enter the password needed to
access the chosen coalition.
Passwords are set by the server; ask the host what he set. Default password are: "blue" for the blue coalition, and "red" for the red
coalition; how original is that, huh?
Finally, enter the pseudo (login/nickname) you want to use (your pseudo will be displayed in the ATCs list and when using the chat
feature).
Then, click on the [Connect] button at the bottom of the connection window to go online.
LotAtc also provides a Bookmarks system for saving the connection data if you use the same server often. Please refer to the
[[LotAtc:Connection Bookmarks]] page about this.
Tactical view
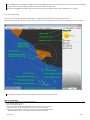
As soon as you're connected, if the DCS server is un-paused, the picture (tactical situation) and mission data should appear on your
display.
Now, you're an active controller: it's time to work! Remember that what you can see depends of the [[LotAtc:Detection Profiles|detection
profile]] set by the server.
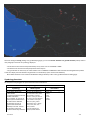
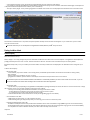
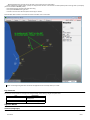
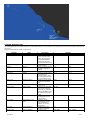
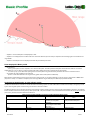
Here is a (quite busy) example of the tactical view:
12/17/2015
2/41