1
Digital Video Recorder User Manual
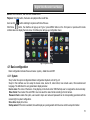
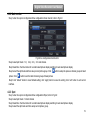
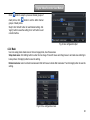
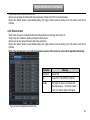
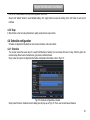
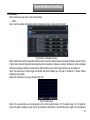
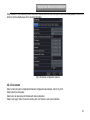
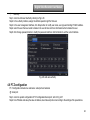
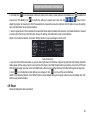
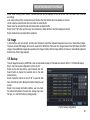
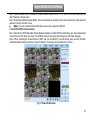
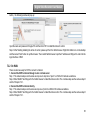
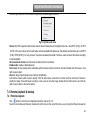
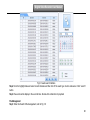
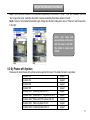
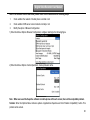
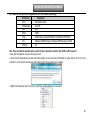
Step2: When clicking Search button, the searched files will be displayed in the file list box; user can select date, channels
accordingly.
Lock: select a file and click Lock button to lock this file, after that, that file will not be deleted or covered.
Unlock: select a locked file and click Lock button to unlock this file
Delete: select an unlocked file and click Delete button to delete this file.
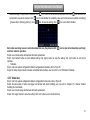
Step3: tick off “All” button and then user can lock/unlock or delete all files in the file management column.
Step4: double click an unlocked item to playback.
5.4 Image
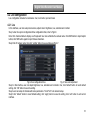
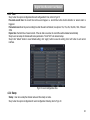
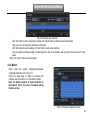
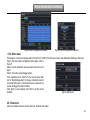
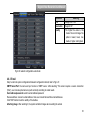
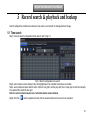
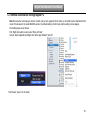
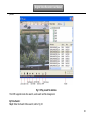
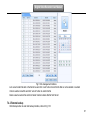
In this interface, user can set start, end time and channels to search the captured images and save, lock or delete these images.
There are at most 2000 images which can be saved in the SATA disk. If there are more images saved in the SATA disks than 2000
images, those additional images will supersede prior images. Double click the image with the left mouse to automatically playback
from the time of the image captured.
5.5 Backup
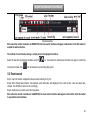
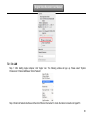
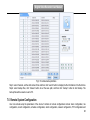
This unit supports backup by USB Flash. User can also make backup by IE browser via internet. Refer to 7.3.2 Remote backup.
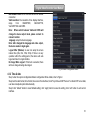
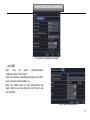
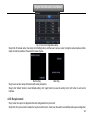
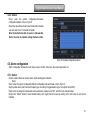
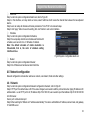
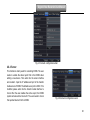
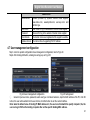
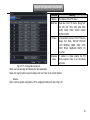
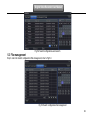
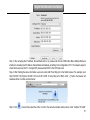
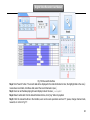
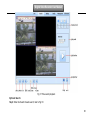
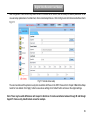
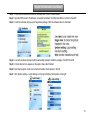
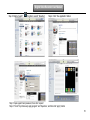
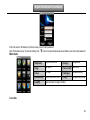
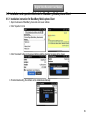
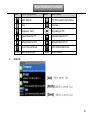
Step1: enter into backup configuration; refer to Fig 5-4:
Step2: set the start & end time, select channels and click
Search button to display the searched data in the data
backup list box
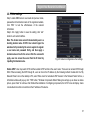
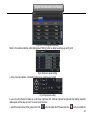
Step3: checked a data file or tick off “All” to select all data
files, click Backup button, Backup information dialog box will
pop-up.
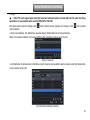
Step4: in the backup information interface, user can check
the relevant information of backup files, storage type, save
file type, etc. click Start button to starting backup.
Fig 5-4 backup configuration
50