1
Job Spooler User’s Reference Guide
•
Download to Engine
•
Data Upload to IP
•
Canceling
•
Done
Received Time
This is the time the IP or the Engine printer received the job that will be printed. For a
Copy or Scan job, this field indicates the time the Engine received the job. For a Print
job, this field indicates the time the IP received the job.
Minute(s) to Go
Once the job is in the engine, a time increment appears in this field. This indicates the
amount of time remaining before the specific job is completed.
Using the Non-Operation Mode Sub-Menus
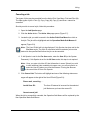
The Active Print View Menu can display a maximum of 15 jobs. In addition, there are
two modes of display for viewing the job fields: Expand or Compact. You control these
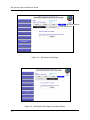
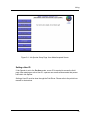
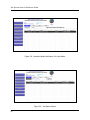
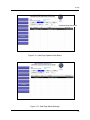
features by using the Non-Operation Mode Sub-Menus (Figure 3.5).
Scrolling the Active Jobs Display
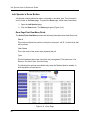
The Non-Operation Mode Sub-Menus consist of three buttons: Prev 15, Next 15 and
Expand/Compact (Figure 3.5). Between these buttons, text is displayed. This text
identifies the rows that are currently displayed in the Active Print View Menu. The total
number of jobs in the Active Print View Menu is also provided.
Should you wish to view the Next 15 jobs or the Previous 15 jobs, follow this procedure:
1. Open the Job Spooler page.
2. Click the Active button. The Active Jobs page opens (Figure 3.5).
3. Below the Main Menu buttons are the Non-Operation Mode Sub-Menus. Click
the Next 15 button to access information about the next 15 jobs. After you have
clicked this, the text display between the Non-Operation Mode Sub-Menus will
change to reflect that rows that are now on display in the Active Print View
Menu.
4. Should you wish to return to the earlier view, click the Prev 15 button.
16