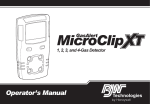
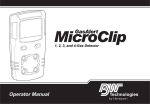
1
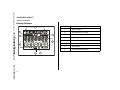
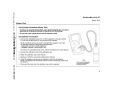
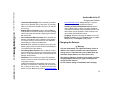
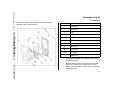
Shop for Gas products online at:
GasAlertMicroClip XT
Maintenance
Replacing the oxygen sensor
2.
www.CanarySense.com
Note
Detectors that are configured for 1, 2, or 3 gases may
contain a dummy sensor in one of the four sensor
locations.
1.
Gently remove the circular rigidified flex PCB atop the
sensor from the metal sensor posts. Take care not to
tear the flex cable.
Note the placement of the PCB to ensure it is
replaced correctly. Remove the two screws on the
PCB.
a Caution
Ensure no damage occurs to the battery.
3.
Lift the PCB straight up. The oxygen sensor will stay
in the front shell. Remove the sensor.
4.
On roughly the same spot on the front shell, place the
new sensor. Lower the PCB over the oxygen sensor.
5.
Ensure the purple plastic sensor post is inserted into
the clear plastic hole. Carefully replace the circular
rigidified flex PCB atop the metal sensor posts. Take
care not to tear the flex cable.
6.
Press down to secure the circular rigidified flex PCB
atop the metal sensor posts.
7.
To complete the detector, refer to Reassembling the
detector.
Reassembling the detector
1.877.766.5412
• Verify the PCB is seated correctly and inserted exactly
as it was removed (sensors face the front shell).
Replace the two PCB screws.
17