1
Tteen/y -one
iwenty
When binding scallops make sure that curved edge of
scallop is in the binder, between the scrolls, close to the
needle. The smallest scallops can be bound neatly if care is
exercised at this point.
To apply additional rows of binding as a trimming, place
garment to be trimmed under the binder and as binding is
being stitched slightly retard the feeding of garment so that
no pucker will appear in garment.
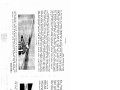
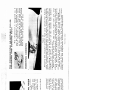
Figure 20
the goods to pass freely under it, then fasten the quilter
guide securely by tightening the screw. Replace regular
foot with the quilter foot.
In starting to quilt use the outer edge of the cloth for the
first guide or else crease the cloth on the right, then let the
quilter guide follow the crease. Quilt the remainder by keep
ing the guide in a line and over any one row already stitched.
To obtain the very lovely puffed quilting use as many
thicknesses of sheet wadding as desired over the fabric. A
piece of cheese cloth placed over the wadding helps to in
sure the even pucker so desirable on comfortables or quilts.
For extremely thick padding release the pressure on the
quilter foot by turning the Pressure Adjusting Screw (Fig. 7)
with a screw driver several turns to the left.
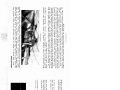
Adjust binder to right or to left so that stitèhing appears
neatly close to folded edge of binding. Let the binding ride
easily through the right hand while guiding material to be
bound well into the binder, between the scrolls, with the left
hand.
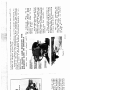
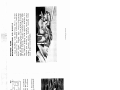
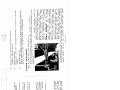
When using bias binding that has been cut /“ or
wide it is entered through the scroll of the Binder as shown in
illustration, Figure 1 9.
BINDING WITH BIAS CUT BINDING
Figure 19
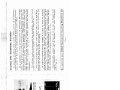
You will find a hole in the presser bar just above the
presser foot, loosen the screw in back of this hole and pass
the quilter guide through the hole so that it rests to the
right of the needle as shown in Figure 20. Set it to the
desired space between stitching and high enough to allow
QUILTING