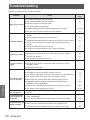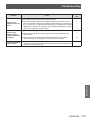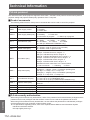
1
Ceiling mount bracket
safeguards
Ceiling
mount bracket safeguards
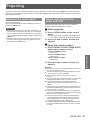
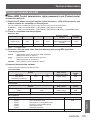
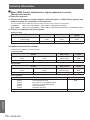
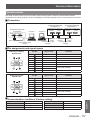
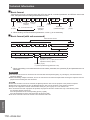
When installing the ceiling mount bracket to the projector, install the accessory Drop-prevention bracket (Safety
cables) to the projector.
(The projector will still be safe if they are not used, however they will help prevent the possibility of accidents
caused by the projector falling down if the screws happen to become loose.)
Ceiling bracket : For high ceiling : ET-PKD310H, For low ceiling : ET-PKD310S,
Ceiling Mount Attachment : ET-PAD310
Installation work of the ceiling mount bracket should only be carried by a
qualified technician according to the following procedure.
zz Panasonic takes no responsibility for any losses or damage occurring as a result of using a ceiling mount
bracket not manufactured by Panasonic, or if damage to the projector occurs as a result of an inappropriate
location used for installing the ceiling mount bracket, even if the projector’s warranty period has not yet expired.
zz Use a torque screwdriver or similar tool to tighten the screws. Do not use tools such as electric screwdrivers or
impact screwdrivers.
zz An unused ceiling mount bracket should be removed promptly by qualified technician.
zz Do not use the screw holes of the front leg adjusters for the projector installation.
zz Do not attach the safety cable to the burglar hook port and suspend the projector on it.
zz For how to install wire ropes to the ceiling, see the installation manual for the ceiling mount bracket.
zz For details, see the installation manual for the ceiling mount bracket.
zz The part numbers of accessories and separately sold components are subject to change without notice.
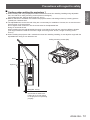
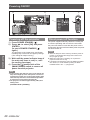
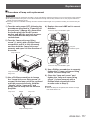
Attachment procedure
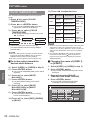
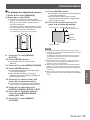
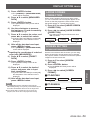
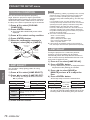
1111 Turn the projector upside down and
place it gently on a soft cloth.
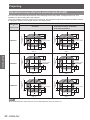
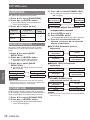
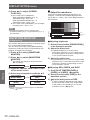
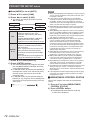
2222 Put the plain washer on the wire rope
fixing screw.
Wire rope fixing screw
Plain washer
Wire rope
Positions to install
wire ropes to body
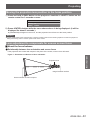
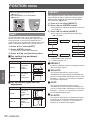
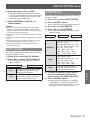
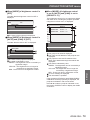
3333 Put the wire rope through the wire rope
fixing screw.
4444 Install the wire rope fixing screws to the
projector and tighten them.
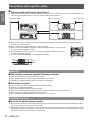
zz Install the wire ropes to the 2 places in a similar
manner.
Wire rope fixing screw: M6 x L20.
Tightening torque of fixing screw: 4 ± 0.5 Nm
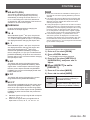
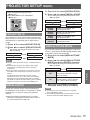
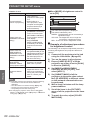
Ceiling bracket
(Metal fitting attached to the ceiling mount bracket or projector
metal fitting for the ceiling mount bracket)
Ceiling mount
Please also attach the washer
which is additional accessory to
the ceiling mount.
Attention
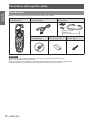
zz Do not use other than the provided Wire rope fixing screw (x2), washers (x4) and Safety cables (x2).
zz Install the wire ropes so that they do not sag between the installation portions on the body and those on the ceiling.
ENGLISH - 127
Appendix
Washer