1
Trigger Functions
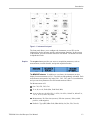
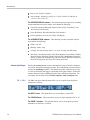
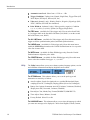
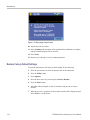
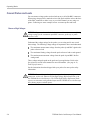
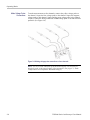
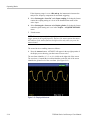
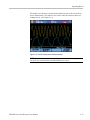
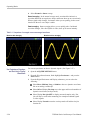
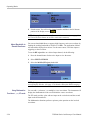
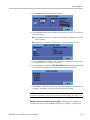
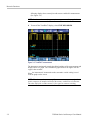
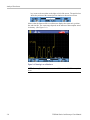
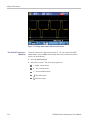
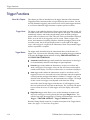
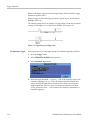
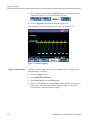
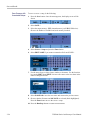
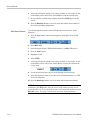
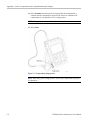
Figure 3-8: Screen with all trigger information
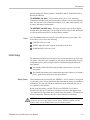
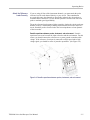
In the following screen, observe the trigger icon
position, trigger level, and slope.
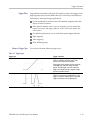
that indicates the trigger
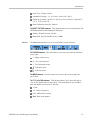
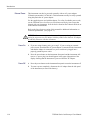
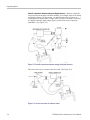
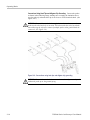
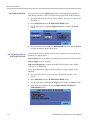
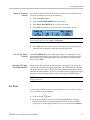
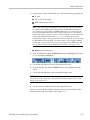
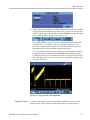
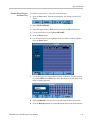
At the bottom of the screen the trigger parameters are displayed. For example,
means that channel 1 is used as the trigger source with a positive slope.
When a valid trigger signal is found, the trigger button will be lit and the trigger
parameters appear in white.
When no trigger is found, the trigger parameters appear in gray, and the button
backlight will be off.
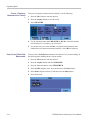
Set Trigger Delay or
Pretrigger
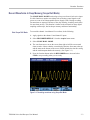
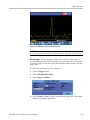
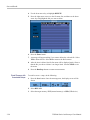
You can begin to display the waveform some time before or after the trigger
point is detected using pretrigger (negative delay) or trigger delay, respectively.
Initially, you will see a half screen (6 divisions) of negative delay.
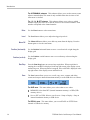
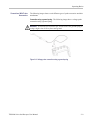
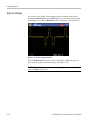
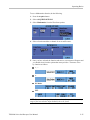
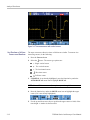
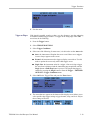
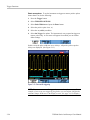
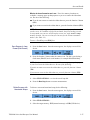
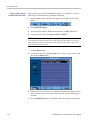
Set trigger delay. Hold down the horizontal Position left button until the trigger
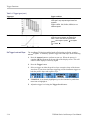
icon moves to the new trigger position and changes to include arrows, like this:
. This icon indicates that you have selected a trigger delay. Moving the trigger
icon to the right on the display gives you a pretrigger view. This allows you to see
what happened before the trigger event, or what caused the trigger.
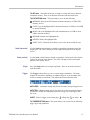
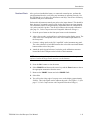
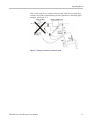
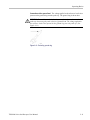
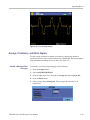
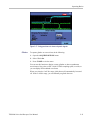
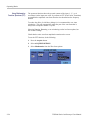
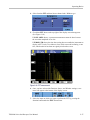
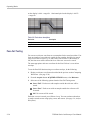
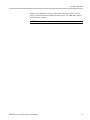
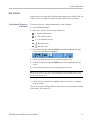
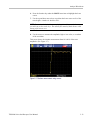
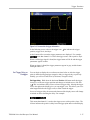
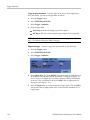
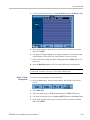
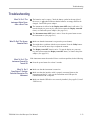
In case of a trigger delay, the status at the bottom of the display screen will change
to include an arrow denoting the delay. For example:
This means that channel 1 is used as the trigger source with a positive slope. The
9.20 ms indicates the (positive) delay between trigger point and waveform display.
THS3000 Series Oscilloscopes User Manual
3–17