1
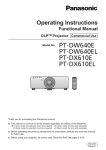
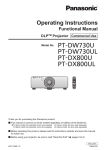
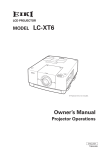
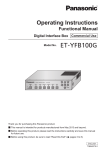
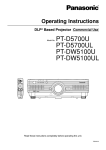
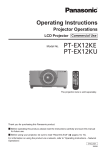
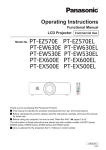
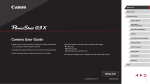
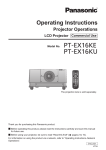
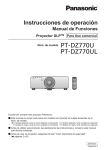
■■Cautions when setting up the projector
zzTo install and use the projector via a method that does not use the adjustable feet in a floor standing
installation, fix the projector using the five screw holes for ceiling mounting (as shown in the diagram).
(Screw diameter: M6, tapping depth inside the set: 12 mm (15/32"), torque: 4 ± 0.5 N·m)
zzUse the adjustable feet only for the floor standing installation and for adjusting the angle. Using it for other
purposes may damage the set.
Screw holes for ceiling mount (M6)
Important
Information
Precautions for use
Adjustable feet
zzDo not stack projectors on top of each other.
zzDo not use the projector tilted at an angle that exceeds ±15° from the horizontal plane.
zzDo not block the ventilation ports (intake and exhaust) of the projector.
zzPrevent hot and cool air from the air conditioning system to blow directly to the ventilation ports (intake and
exhaust) of the projector.
500 mm (20") or longer
500 mm (20") or longer
500 mm (20") or longer
100 mm (4") or longer
zzDo not install the projector in a confined space.
When it is necessary to install the projector in a confined space, install the air conditioning or ventilation
separately. Exhaust heat may accumulate when the ventilation is not enough, triggering the protection
circuit of the projector.
zzMake a clearance of at least 20 mm (0.8") between the projector bottom and setting surface by inserting
spacers (metallic) etc. between them.
ENGLISH - 15