1
7
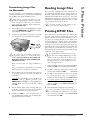
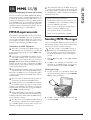
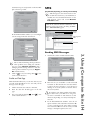
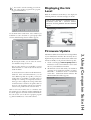
For Colour scan with Crystal Image: If you want
Crystal Image to implement the red eye reduction,
use / to select Reduction and confirm with
OK.
²
Machine Functions
Red eye reduction is a complex process and
can take some time. Confirm the query only
when needed.
8
The scan is created and transferred to the inserted
memory card. Only remove the memory card after
the data transfer is complete, otherwise data could
be lost.
Editing Memory Card
Contents on the PC
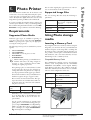
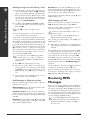
You can edit and manage image files from the PC using
the card reader of your multifunction machine.
1
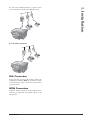
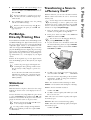
Connect the machine to your PC with a USB cable
(see section PC Functions / Installing the Driver
and Software).
2
Insert the memory card into your multifunction
machine (see Inserting Memory Cards). The storage medium appears as a removable drive on the
PC in Windows Explorer. Access this drive to add,
copy, move, save or delete images.
ÆDCF (Design Rule for Camera File System)
The file name is assigned according to the
standard.
If you have not inserted a memory card (if you
have accessed the function via the menu, for example), an error message appears on the display
asking you to insert a memory card.
²card with an image editing program (e.g.
You can edit photos directly on the memory
Photo Impression).
3
If the data transfer does not function, it may be
that your memory card is write-protected.
Reanalysing
Image Files
If you make changes after the data transfer and reading
of the image files (e.g. if you add or delete photos using
the PC), you must read in the image files again in order
to obtain the current index numbers for selecting the
photos.
Only remove the inserted memory card after you
have disconnected the connection; otherwise, data
may be lost. In Windows Explorer, right-click on
the removable drive and disconnect the connection.
The removable drive no longer appears in Windows
Explorer.
Changing Printer
Settings
You can change the factory settings with the following
functions.
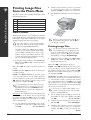
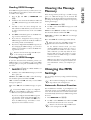
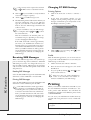
In the photo menu, use / to select ANALYSE MEDIA
and press OK. The multifunction machine analyses the
modified image files and reassigns the image numbers.
²only in event of frequent use.
Removing Storage
Media
1
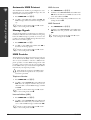
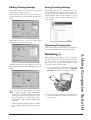
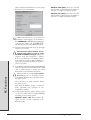
The standard setting for the paper format (factory
setting: A4) can be changed by pressing MENU/
OK and 241.
2
Use / to select the desired paper format and confirm with OK.
10×15 cm
Æ
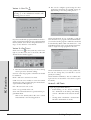
Never disconnect the connection between
your multifunction machine and the storage
medium during a data transfer or printing of a
photo! Wait until all print jobs are completed (see
chapter Saftety Instructions / Photo Memory Media).
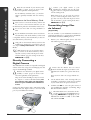
1
If you would like to leave the photo menu, use /
to select exit and confirm with OK.
2
It is now safe to disconnect the connection between
the storage medium and the multifunction machine
by pulling out the memory card or the USB cable.
We recommend changing the standard settings
Setting the Paper Format
²to the starting mode with X button.
Return to the last menu entry with C; return
Setting the Paper Type
1
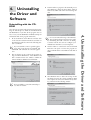
The standard setting for the loaded paper type (factory setting: NORMAL) can be changed by pressing
MENU/OK and 242.
2
Use / to select the desired paper type and confirm with OK.
COATED
²to the starting mode with X button.
Return to the last menu entry with C; return
30
5. Photo Printer