1
DigiTerra Explorer v5 ®
User Guide © Copyright 1996-2008, DigiTerra Ltd.
_____________________________________________________________________________________________________________________________________________________________________________________
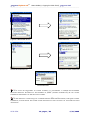
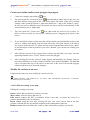
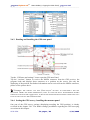
name of the layers, if the green check-mark appears in front of the layers name, you selected
successfully. In the „Name” field you can see all selected layers. If you made a false selection,
tap again the name of the layer to unselect it. (In the desktop PC version use the general way Ctrl or Shift+Click on the panel of Windows) to add new layer(s) to the view.)
4.
Tap OK to add the two layers to the view without changing the path.
5.
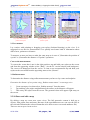
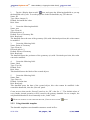
Tap again the „Add new layer(s)” icon
(on the layer panel you also can use the
icon). Find and add to the view as new layer the „cities.map”.
OPENING
THE ”LAYER SETTINGS”
PANEL, YOU CAN SEE THAT THE NEWLY SELECTED
LAYER APPEARS IN THE FIRST ROW IN THE LIST.
2.2.1.2 Displaying the layers and changing the order of the displayed layers
Displaying the layers
check-mark you can terminate displaying
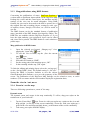
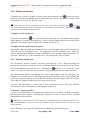
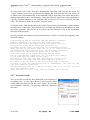
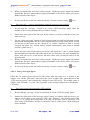
After opening the Layers panel, by tapping the
the layers. In front of the displayed layers you can see the check-mark, but there is no check
mark in front of the invisible layers. Dragging your stylus through the „mark-squares” of the
layers, all layers can be marked or unmarked. If you tap the
icon, all layers can be marked
or unmarked all at once, too.
Layers display order
First time will be displayed the layer that is in the last row on the „Layers” panel (in the list),
and last will appear the layer that is in the first row. The later displayed layers overwrite the
(area ) after
earlier displayed ones. Therefore you have to display first the raster layers
the lines , and by the end the points. Using this display order areas will not hide points,
lines, labels and symbols.
Changing the Layers display order
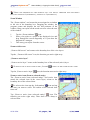
In case the display order is not suitable, you can change it moving the layers.
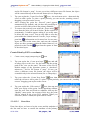
1.
Apply the „Add new layers to the view” task.
icon, or the button in the upper-left corner
2.
Open the „Layer settings” panel: tap the
on the active frame.
3.
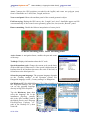
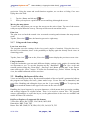
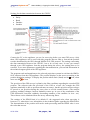
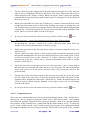
Tap with your stylus to the panel named „Lakes” and drag this layer under the
„County” layer. (The dark background color shows, that the „Lakes” layer is the active layer)
4.
Tap OK in the upper right corner on the panel. Changing the order, in the recent order
the „County” layer overlies / hides the „Lakes” layer.
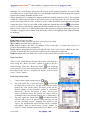
5.
To make the right order open again the „Layer settings” panel and drag the „Lakes”
layer between the „Rivers” and „County” layers.
6.
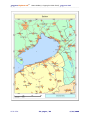
Tap OK and have a look at the view.
YOU
WILL FIND FURTHER INFORMATION ABOUT THE DISPLAY SETTINGS OF VIEWS
(THEMATIC CLASSIFICATION, SCALE, LABELING … ETC.) IN THE FOLLOWING CHAPTERS.
V5.8.3.20.
21. pages / 64
4/21/2008