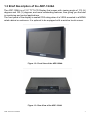
1
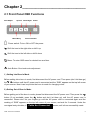
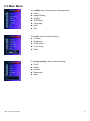
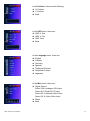
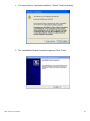
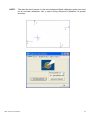
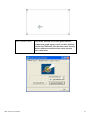
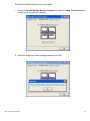
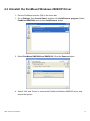
4.2 Configuring the PenMount Windows 2000/XP Driver
Upon rebooting, the computer automatically finds the new 9036 controller board. The
touch screen is connected but not calibrated. Follow the procedures below to carry out
calibration.
1. After installation, click the PenMount Monitor icon “PM” in the menu bar.
2. When the PenMount Control Panel appears, click “Calibrate”.
PenMount Control Panel
The functions of the PenMount Control Panel are Calibrate, Draw, Multiple Monitors,
Option, and About, which are explained in the following sections.
Calibrate
This function offers two ways to calibrate your touch screen. “Standard Calibration”
adjusts most touch screens. “Advanced Calibration” adjusts aging touch screens.
Standard Calibration
Click this button and arrows appear pointing to red
squares. Use your finger or stylus to touch the red
squares in sequence. After the fifth red point
calibration is complete. To skip, press ‘ESC’.
Advanced Calibration
Advanced Calibration uses 4, 9, 16 or 25 points to
effectively calibrate touch panel linearity of aged
touch screens. Click this button and touch the red
squares in sequence with a stylus. To skip, press
‘ESC’.
ADP-1224A User Manual
21