1
octopus - MIDI Control Sequencer
II First steps
Basic track operations
Since you now have a pattern you like, but still want
to explore, let’s make an identical copy of your track
pattern first and then modify the copy while keeping
the original safe.
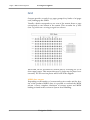
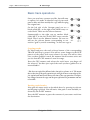
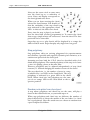
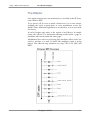
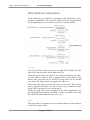
On the left side of the Octopus panel you see a
block called SEL, to the right of the MIX rotary encoder block. These are the Selector buttons.
Symmetrically to the right you see another block
called MUT, to the left of the EDIT rotary encoder
block. These are the Mutator buttons. For now we
will use the selector button corresponding to our
track to “grab” it, and do something – in this case copy it.
Copying tracks
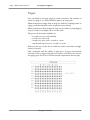
Go ahead and press the track selector button of the corresponding
TRACK and keep it pressed. You will see some changes in the LED
pattern of the panel; don’t worry about it for now. You will see that
once you have grabbed a track, the mutator block becomes active and
you see that the CPY mutator is now lit orange.
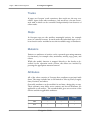
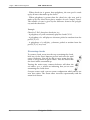
Press the CPY mutator and release the track (move your finger off
the selector). You have just copied the track you have grabbed to an
internal buffer*.
* You have not copied the fu# track data, but only a reference to it. This means
that at the time of the paste operation you wi# get the most recent data of the
just copied track and not the data at the time of the copy operation. Therefore,
any changes between the copy and the paste operation are permanent and not
recoverable.
Pasting copied tracks
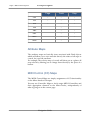
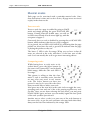
Now grab an empty track as described above by pressing its selector
and keeping it pressed. You will notice that paste is now available, indicated by the lit PST mutator.
Press the PST mutator to paste the contents of your source track into
the destination.
Navigation Guide
18