1
10 > 11
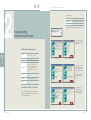
2. Installing, Running and Removing the Program
2.3 Installation of Ez3D
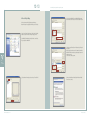
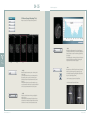
If the Lock key driver is installed, please execute Ez3D_Local_Net.exe file
from among the files provided.To exit the installation, click the ‘Exit’ butt0n.
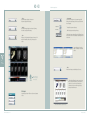
1) Click the ‘Next’ button.
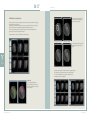
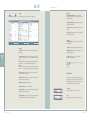
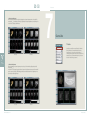
5) Select the optional features that you want to install and then
click ‘Next’ button.
Warning on selecting optional features installation
> Ez3D Local for ATI Graphics Card - Select this if the
graphic card on the PC is manufactured by ATI
> Ez3D CD/DVD Burn Patch for Windows XP SP3 - Select
this if the OS of the PC is XP with Service Pack Version 3
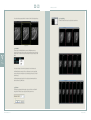
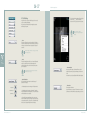
2) Read the End-user License Agreement. Click ‘I accept’ button if you
agree with the terms of the License Agreement.
Then, click ‘Next’ button.
6) Select a drive to install Ez3D, then click ‘Next’ button.
The Program will be installed on C Drive in default.
3) Enter your user and company name, Then click ‘Next’.
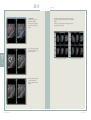
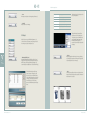
7) Click ‘Next’ button to begin Installation.
Value
Added
Technologies
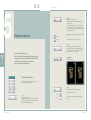
4) Select the set-up version you want to install, then click ‘Next’.
Local version is the version used for an independent PC.
Network version has two types : Console and Workstation. Install Network
Console (for Server) on the PC which is connected to the equipment and
install Network Workstation (for Client) on other PCs. Network Workstation
is a version used on PCs for viewing images within the hospital.
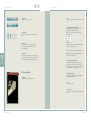
Warning on selecting installation version
The program will not work normally if the program version differs from the
purchased Lock Key. It can be identified by looking at the names on the Lock key.
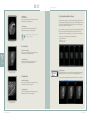
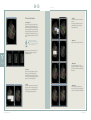
8) The Progress bar will
appear which displays the
progress of the
installation.
Click the ‘Finish’ button
when prompted to
complete the installation.
> WIBU-BOX/RU+ - Local
> WIBU-BOX/R+ - Network
Ez3D User Manual _ Ver.1.4
3D Analysis Software