1
PHOTOMOD 5.3
Processing of UAV data
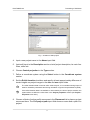
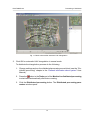
Fig. 17. Self-calibration of camera parameters
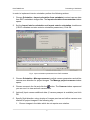
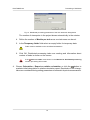
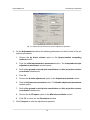
3. Click OK. Setup adjustment parameters in the Parameters window and click
the Compute button to start the adjustment procedure.
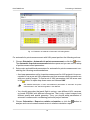
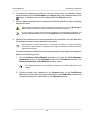
4. After adjustment operation is complete estimate the adjustment accuracy and
camera self-calibration results, shown in the Adjustment column of the Camera
parameters self-calibration window. If you are satisfied with the results pass
to step # 5, otherwise, change initial values of parameters and/or set of parameters for optimization and adjust the block once more.
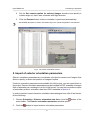
5. Click the Save button to save the adjustment results. Close the adjustment
module.
When exiting from adjustment module the Perform self-calibration checkbox on the
Adjustment tab of the Parameters window is cleared automatically.
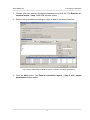
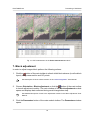
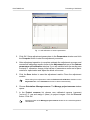
6. Choose Orientation › Manage cameras. The Manage project cameras window
opens.
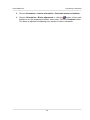
7. In the Project cameras list choose new calibrated camera (cameras)
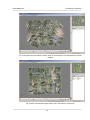
[autocal].x-cam and assign it (them) to project images. Click the Execute
button. Click OK.
See a description of the Manage project cameras window in the “Aerial triangulation”
User Manual.
21