1
NVR4POE / NVR8POE / NVR16POE Quick Operation Guide
3.
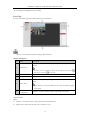
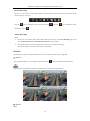
You can click the
button on the toolbar to start the live view of all cameras on the device list.
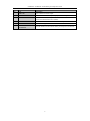
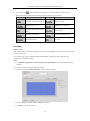
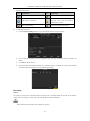
Refer to the following table for the description of buttons on the live view window:
Icon
Description
Icon
Select the window-division mode
/
Description
/
Start/Stop all live view
/
Capture pictures in the live view
Start/Stop all recording
/
Previous/Next page
Start/Stop two-way Audio
Adjust volume
mode
/
Open/Close audio
/
Enable/Disable digital zoom
Full screen
Recording
Before you start
Make sure the device is connected with HDD or network disk, and the HDD or network disk has been initialized
for the first time to use.
Two recording types can be configured: Manual and Scheduled. The following section introduces the
configuration of scheduled recording.
Steps:
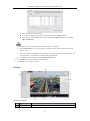
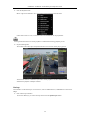
1. Click Remote Configuration> Camera Settings> Record Schedule to enter Record Schedule settings
interface.
2. Select the camera to configure the record schedule.
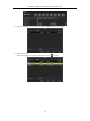
3. Check the checkbox of Enable Schedule to enable recording schedule.
4. Choose the day in a week to configure scheduled recording.
5. Click Edit to edit record schedule.
14