1
AFL3-12A/W15A-BT Panel PC
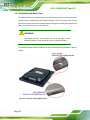
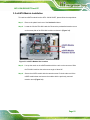
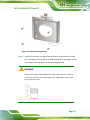
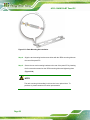
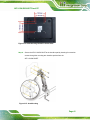
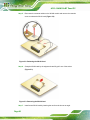
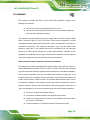
Step 7: Align the mounting screws on the monitor rear panel with the mounting holes on
the bracket.
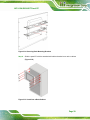
Step 8: Carefully insert the screws through the holes and gently pull the monitor
downwards until the monitor rests securely in the slotted holes (Figure 3-16).
Ensure that all four of the mounting screws fit snugly into their respective slotted
holes.
NOTE:
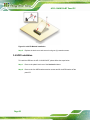
In the diagram below the bracket is already installed on the wall.
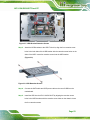
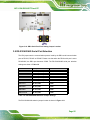
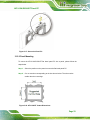
Figure 3-16: Chassis Support Screws
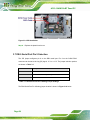
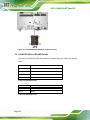
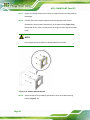
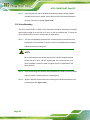
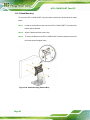
Step 9: Secure the panel PC by fastening the retention screw of the wall-mounting
bracket (Figure 3-17).
Page 32