1
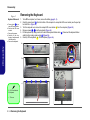
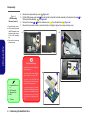
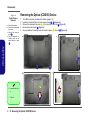
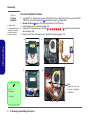
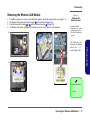
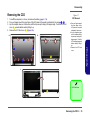
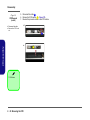
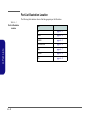
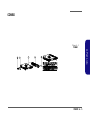
Disassembly Removing the Hard Disk Drive Figure 3 The hard disk drive can be taken out to accommodate other 2.5" serial (SATA) hard disk drives with a height of 9.5mm or 7mm (h). Follow your operating system’s installation instructions, and install all necessary drivers and utilities (as outlined in Chapter 4 of the User’s Manual) when setting up a new hard disk. Hard Disk Upgrade Process HDD Assembly Removal a. Remove the screws. b. Remove the component bay cover. 1. Turn off the computer, and remove the battery (page 2 - 5). 2. Locate the component bay cover and remove screws 1 - 2 (Figure 3a). 3. Slide the component bay cover 3 until the cover and case indicators 4 are aligned (Figure 3b). a. b. 2.Disassembly 4 4 3 2 1 3. Component Cover Bay • 2 Screws Removing the Hard Disk Drive 2 - 7