1
Maintenance
INSTALLATION
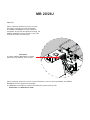
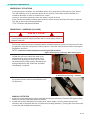
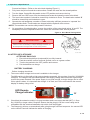
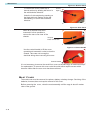
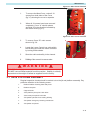
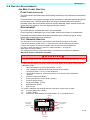
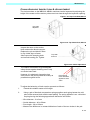
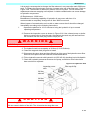
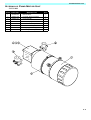
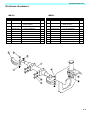
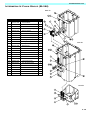
1. Lubricate the pump shaft with a Molybdenum based grease and attach to the motor.
Take care to orientate the pump ports correctly relative to the motor terminals.
Tighten the 4 capscrews to 27Nm.
2. Refit the hoses.
3. Check the tightness of the port adaptor flange screws.
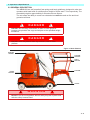
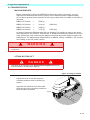
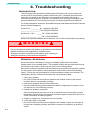
!
W A R N I N G
!
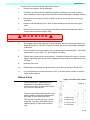
Be aware of the cavitation-induced damage caused to the pump if oil is
not delivered to the suction port immediately..
4. Refill the reservoir. Check all operating functions and allow time for entrapped air to
make its way to the reservoir return lines.
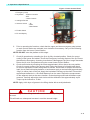
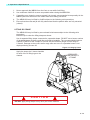
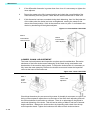
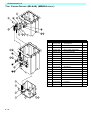
5. Fit the large diameter pipe clamp and rotate the pump motor unit until the terminals
and pump hose adaptors are correctly orientated. Tighten the pipe clamp and fit the
chassis cover(s).
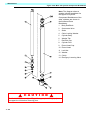
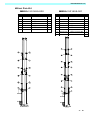
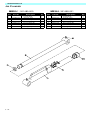
3.16 LIFT CYLINDER
REMOVAL
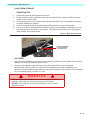
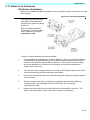
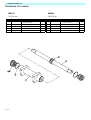
1. Ensure that the machine is on firm level ground, the Elevating Assembly is
completely stowed, the Keyswitch is to the ‘OFF’ position and the Emergency Stop
Button is pressed.
2. Remove the chassis covers from the machine.
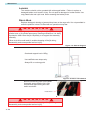
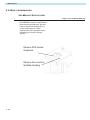
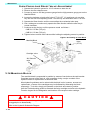
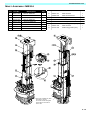
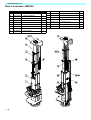
3. Disconnect the manual emergency lowering cable and mechanism from the base of
the fixed mast.
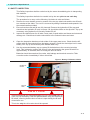
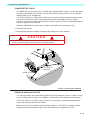
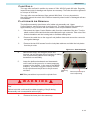
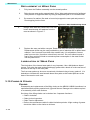
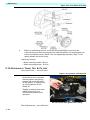
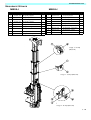
4. Using a 30mm open spanner, slacken off the chain adjusting anchors at the base of
the mast.
5. Remove the 8mm dia. x 150mm long chain anchor pin. Use a punch and a hammer
to drive out this pin. Leave the punch in position until ready to undo the chain
from the top pulley.
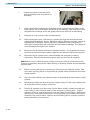
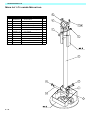
6. Remove the jib-mount top cover plate to expose the main chain pulley assembly.
7. Remove the four M8 x 50 long cap head screws from the pulley shaft bearing
blocks.
8. The pulley and shaft assembly may now be withdrawn from its seat. Take care to first
remove the temporary punch pin from the bottom end and to fold the chain out over
the mast sections. It is not necessary to remove the main chain adjusting anchors.
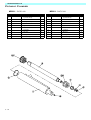
9. Move the cylinder to a prepared work area. It is important that clean assembly
practices are observed, as seals and other hydraulic cylinder components are
sensitive to contamination.
3 - 27