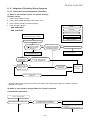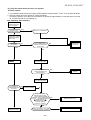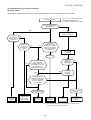
1
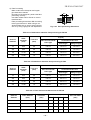
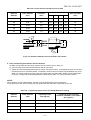
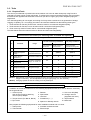
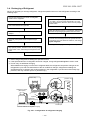
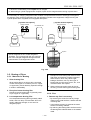
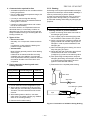
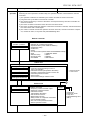
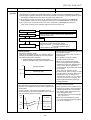
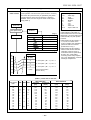
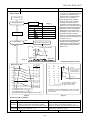
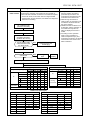
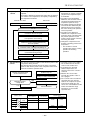
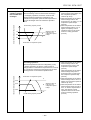
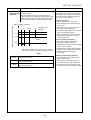
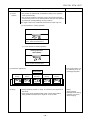
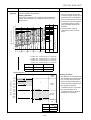
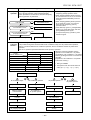
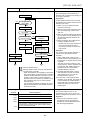
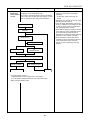
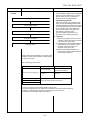
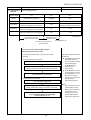
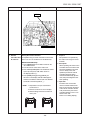
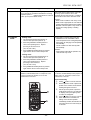
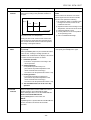
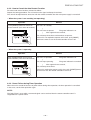
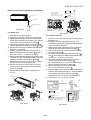
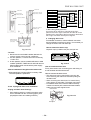
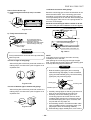
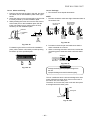
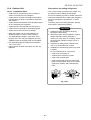
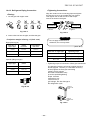
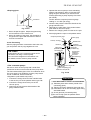
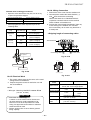
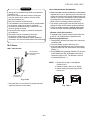
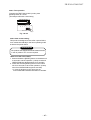
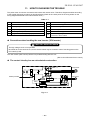
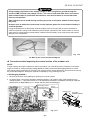
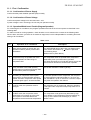
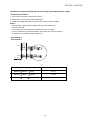
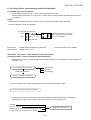
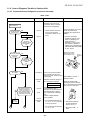
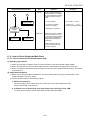
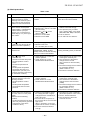
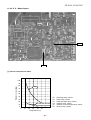
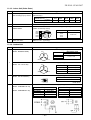
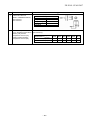
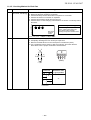
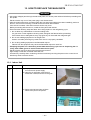
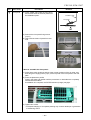
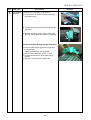
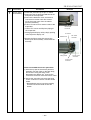
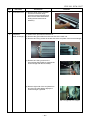
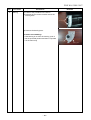
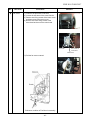
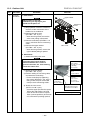
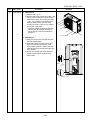
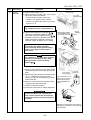
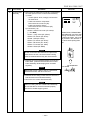
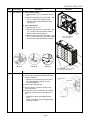
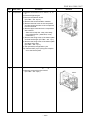
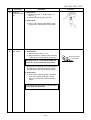
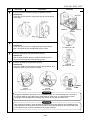
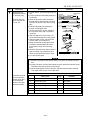
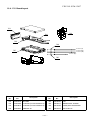
FILE NO. SVM-12057 No. Part name Inverter assembly Procedure 1) Perform work of item 1 in . 2) Remove screw (ST1TØ4 × 10L 2 pcs.) of the upper part of the front cabinet. • If removing the inverter cover in this condition, P.C. board can be checked. • If there is no space above the unit, perform work of 1 in . Remarks Inverter cover P.C. board (Soldered surface) Be careful to check the inverter because high-voltage circuit is incorporated in it. 3) Perform discharging by connecting , polarity by discharging resistance (approx. 100Ω40W) or plug of soldering iron to , terminals a of the C14 (printed “CAUTION HIGH VOLTAGE” is attached.) electrolytic capacitor (760µF or 500µF) on P.C. board. Discharging position (Discharging period 10 seconds or more) Plug of soldering iron Be careful to discharge the capacitor because the electrolytic capacitor cannot naturally discharge and voltage remains according to trouble type in some cases. NOTE This capacitor is one with mass capacity. Therefore, it is dangerous that a large spark generates if short-circuiting between , 4) Remove screw (ST1T∅4 x 10L 4pcs.) fixing the terminal part of inverter box to the main body. 5) Remove the front cabinet by performing step 1 in k , and remove the fixing screws (ST1T∅4 x 10L) for securing the main body and inverter box. 6) Remove various lead wires from the holder at upper part of the inverter box. 7) Pull the inverter box upward. 8) Disconnect connectors of various lead wires. The connector is one with lock, so remove it while pushing the part indicated by an arrow. Requirement As each connector has a lock mechanism, avoid to remove the connector by holding the lead wire, but by holding the connector. Be sure to remove the connector by holding the connector, not by pulling the lead wire. − 101 −